
The Risograph printer, originally used for low-cost duplication, is gaining traction as a creative tool for designers to achieve a look and feel of imperfect and tactile richness. This technique and look has been replicated in a digital space with effects and filters, but never completely nailing the end result of the traditional method.
My research has to do with exploring this process in motion design. Through a process of animating digitally, printing out each frame with the Risograph, and scanning the frames back in, I want to utilize this rare technology to achieve this look without using filters or effects. Ultimately, this research project will deepen my understanding on how traditional print techniques can merge with digital design, enhancing both my academic growth and practical skills.
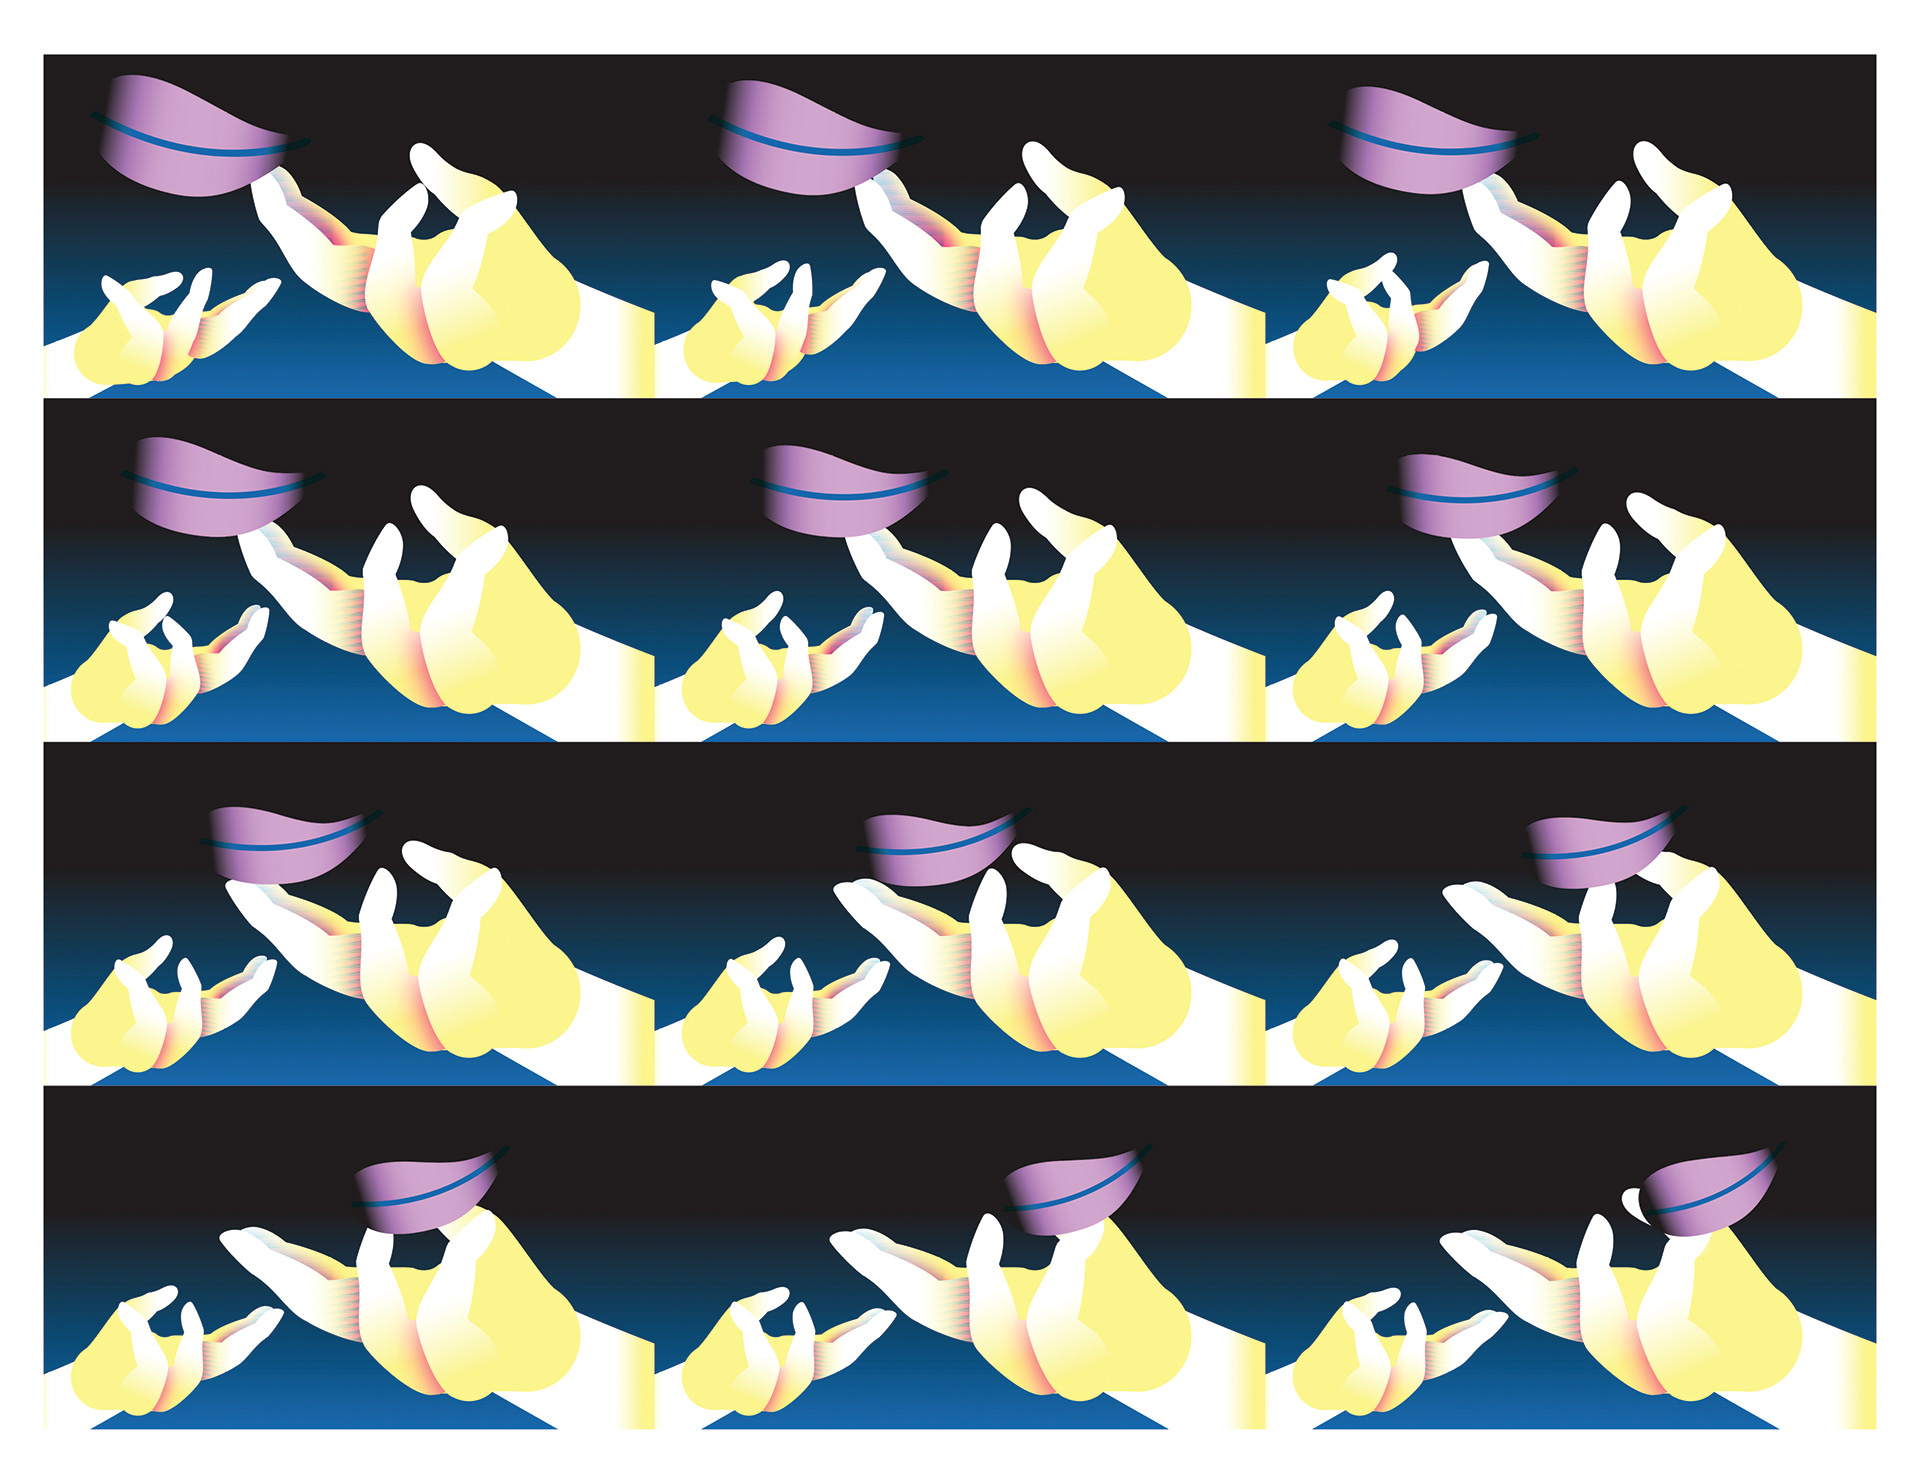
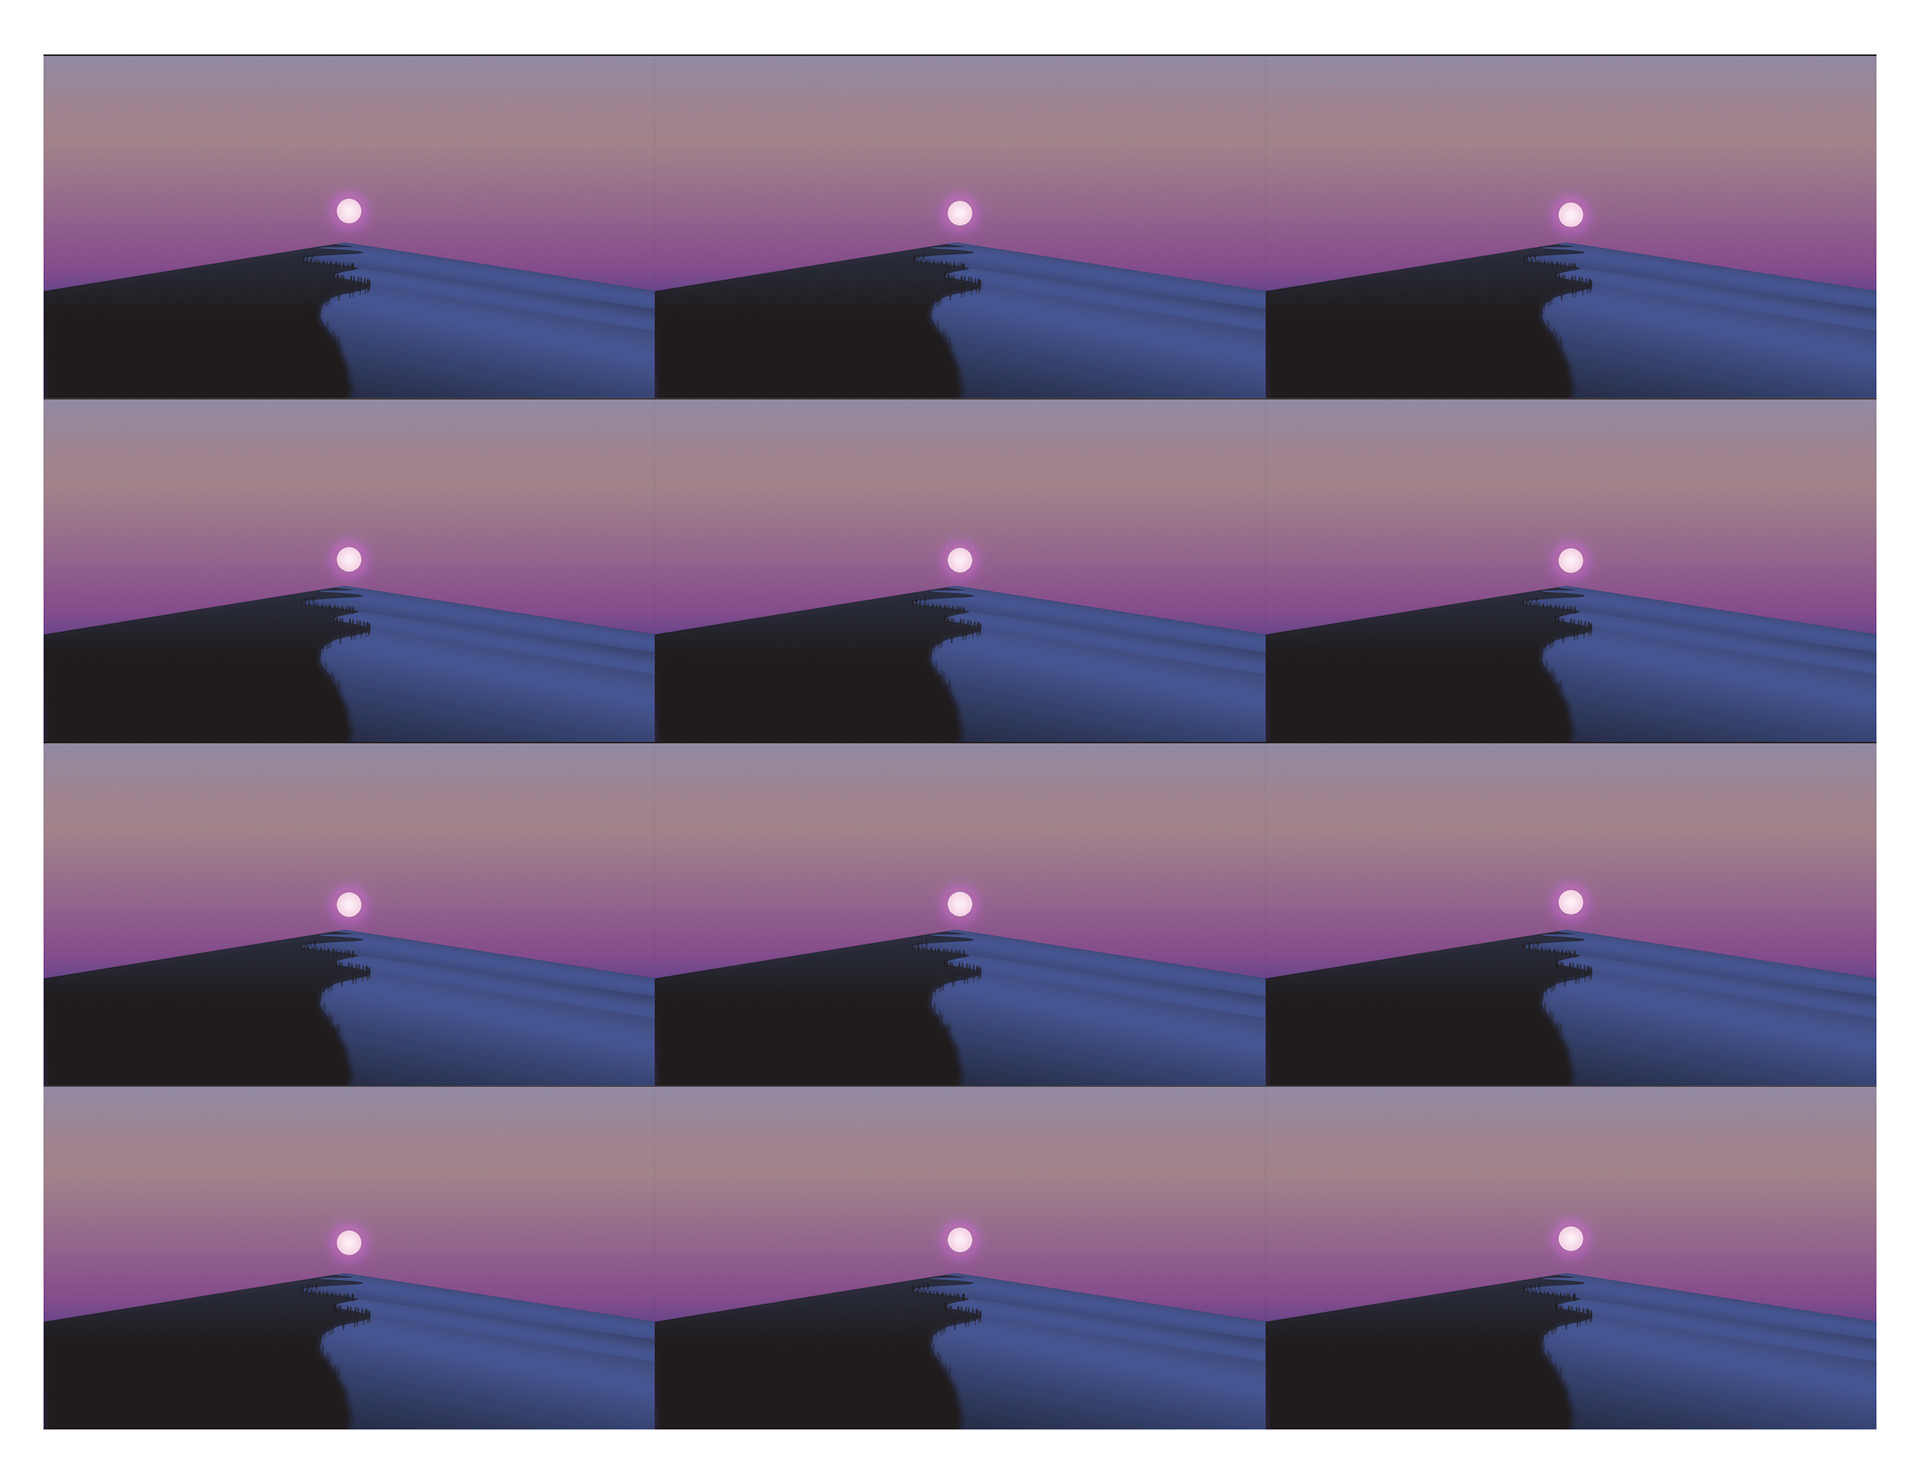
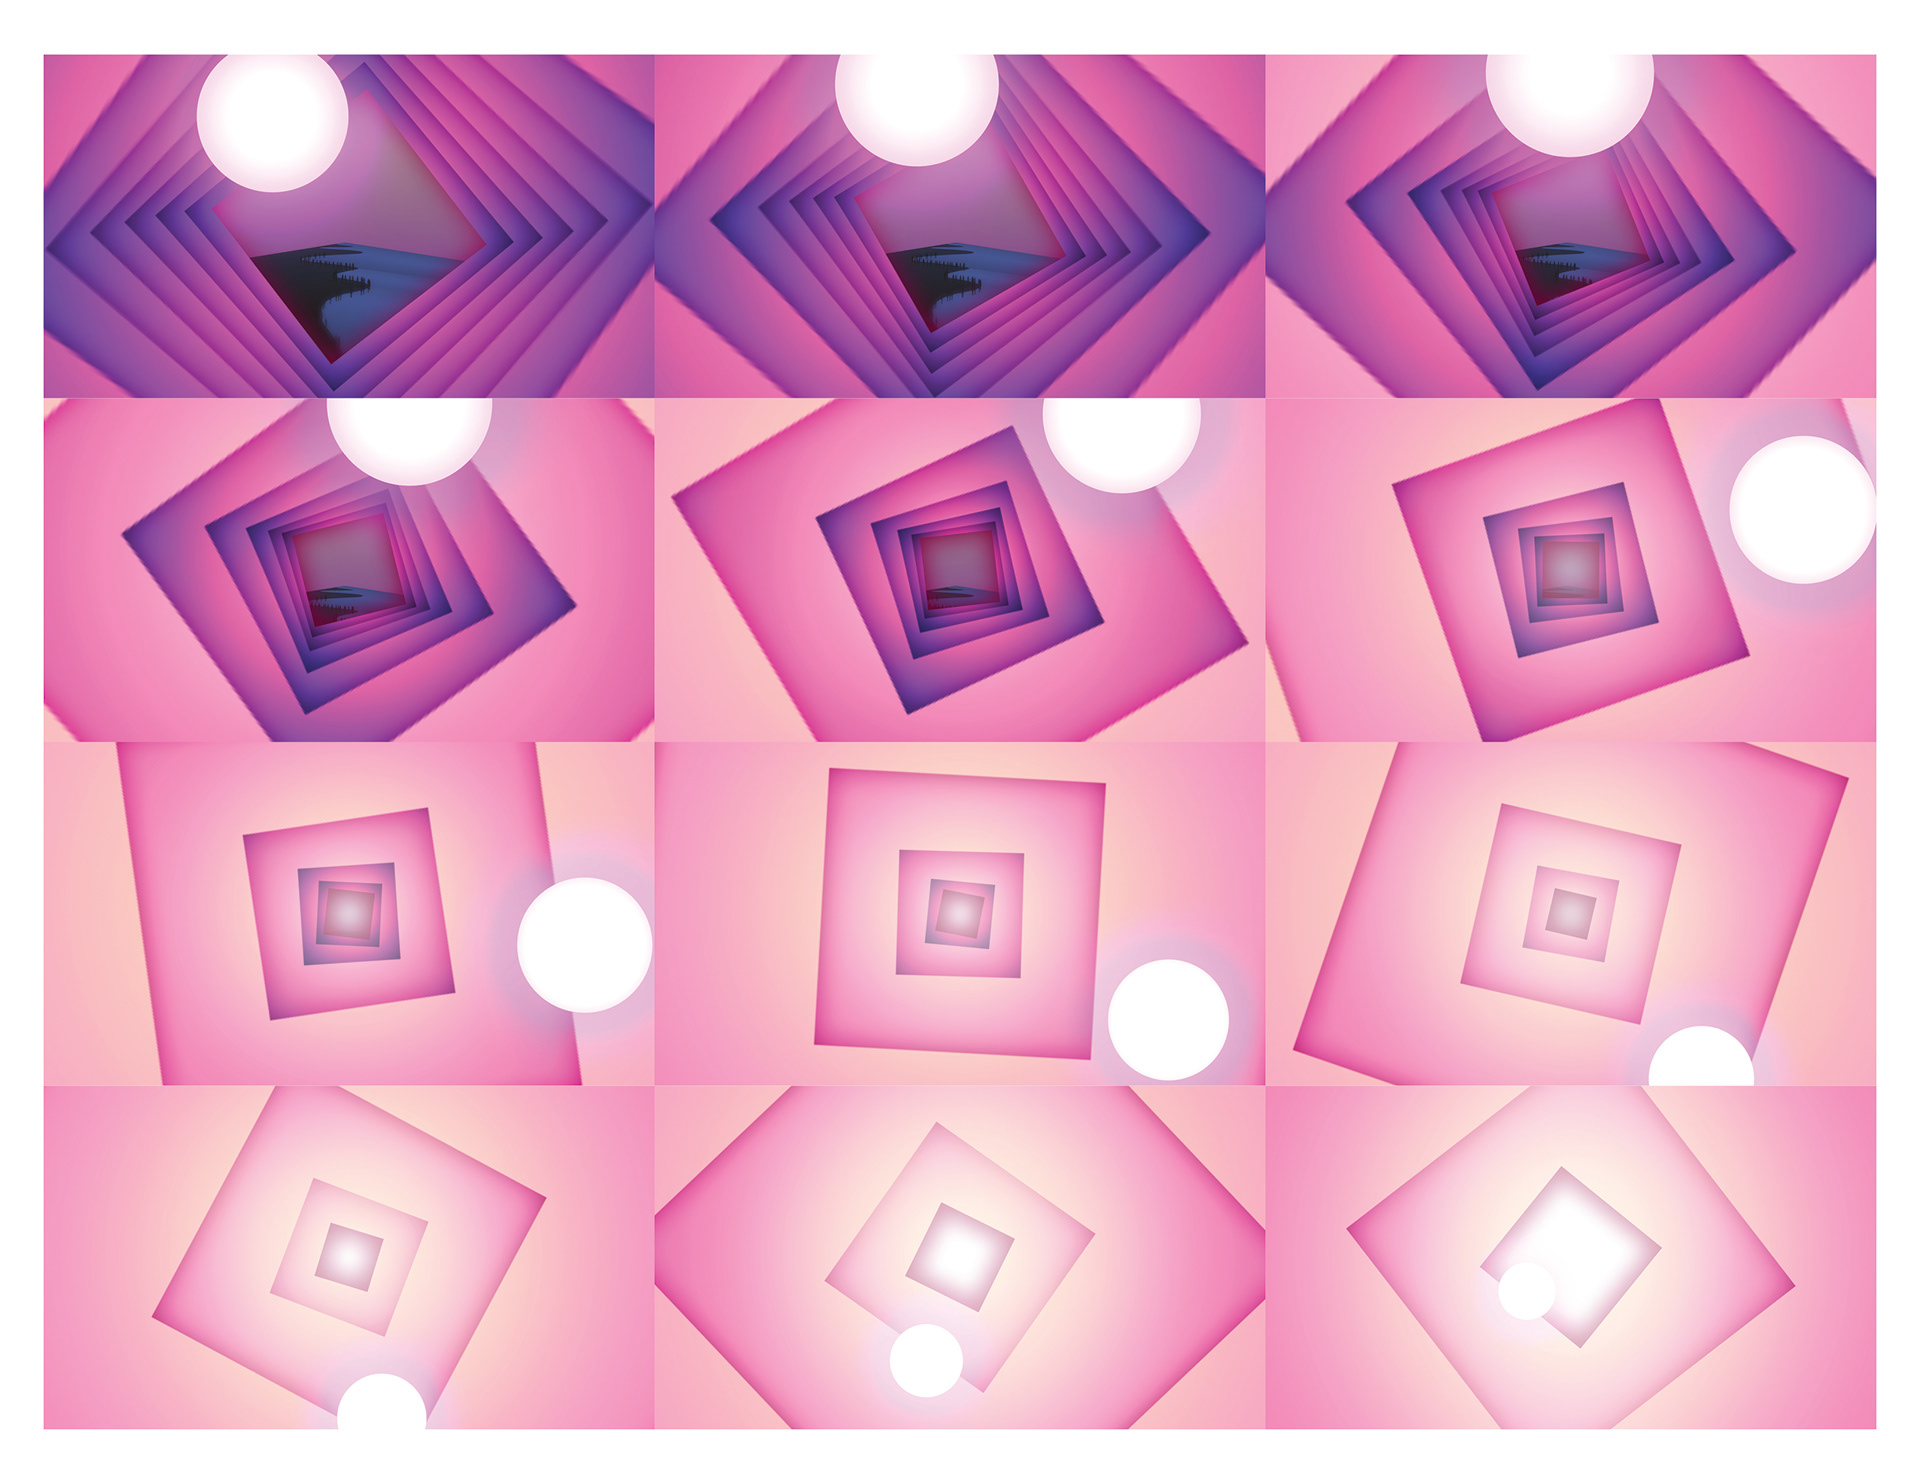
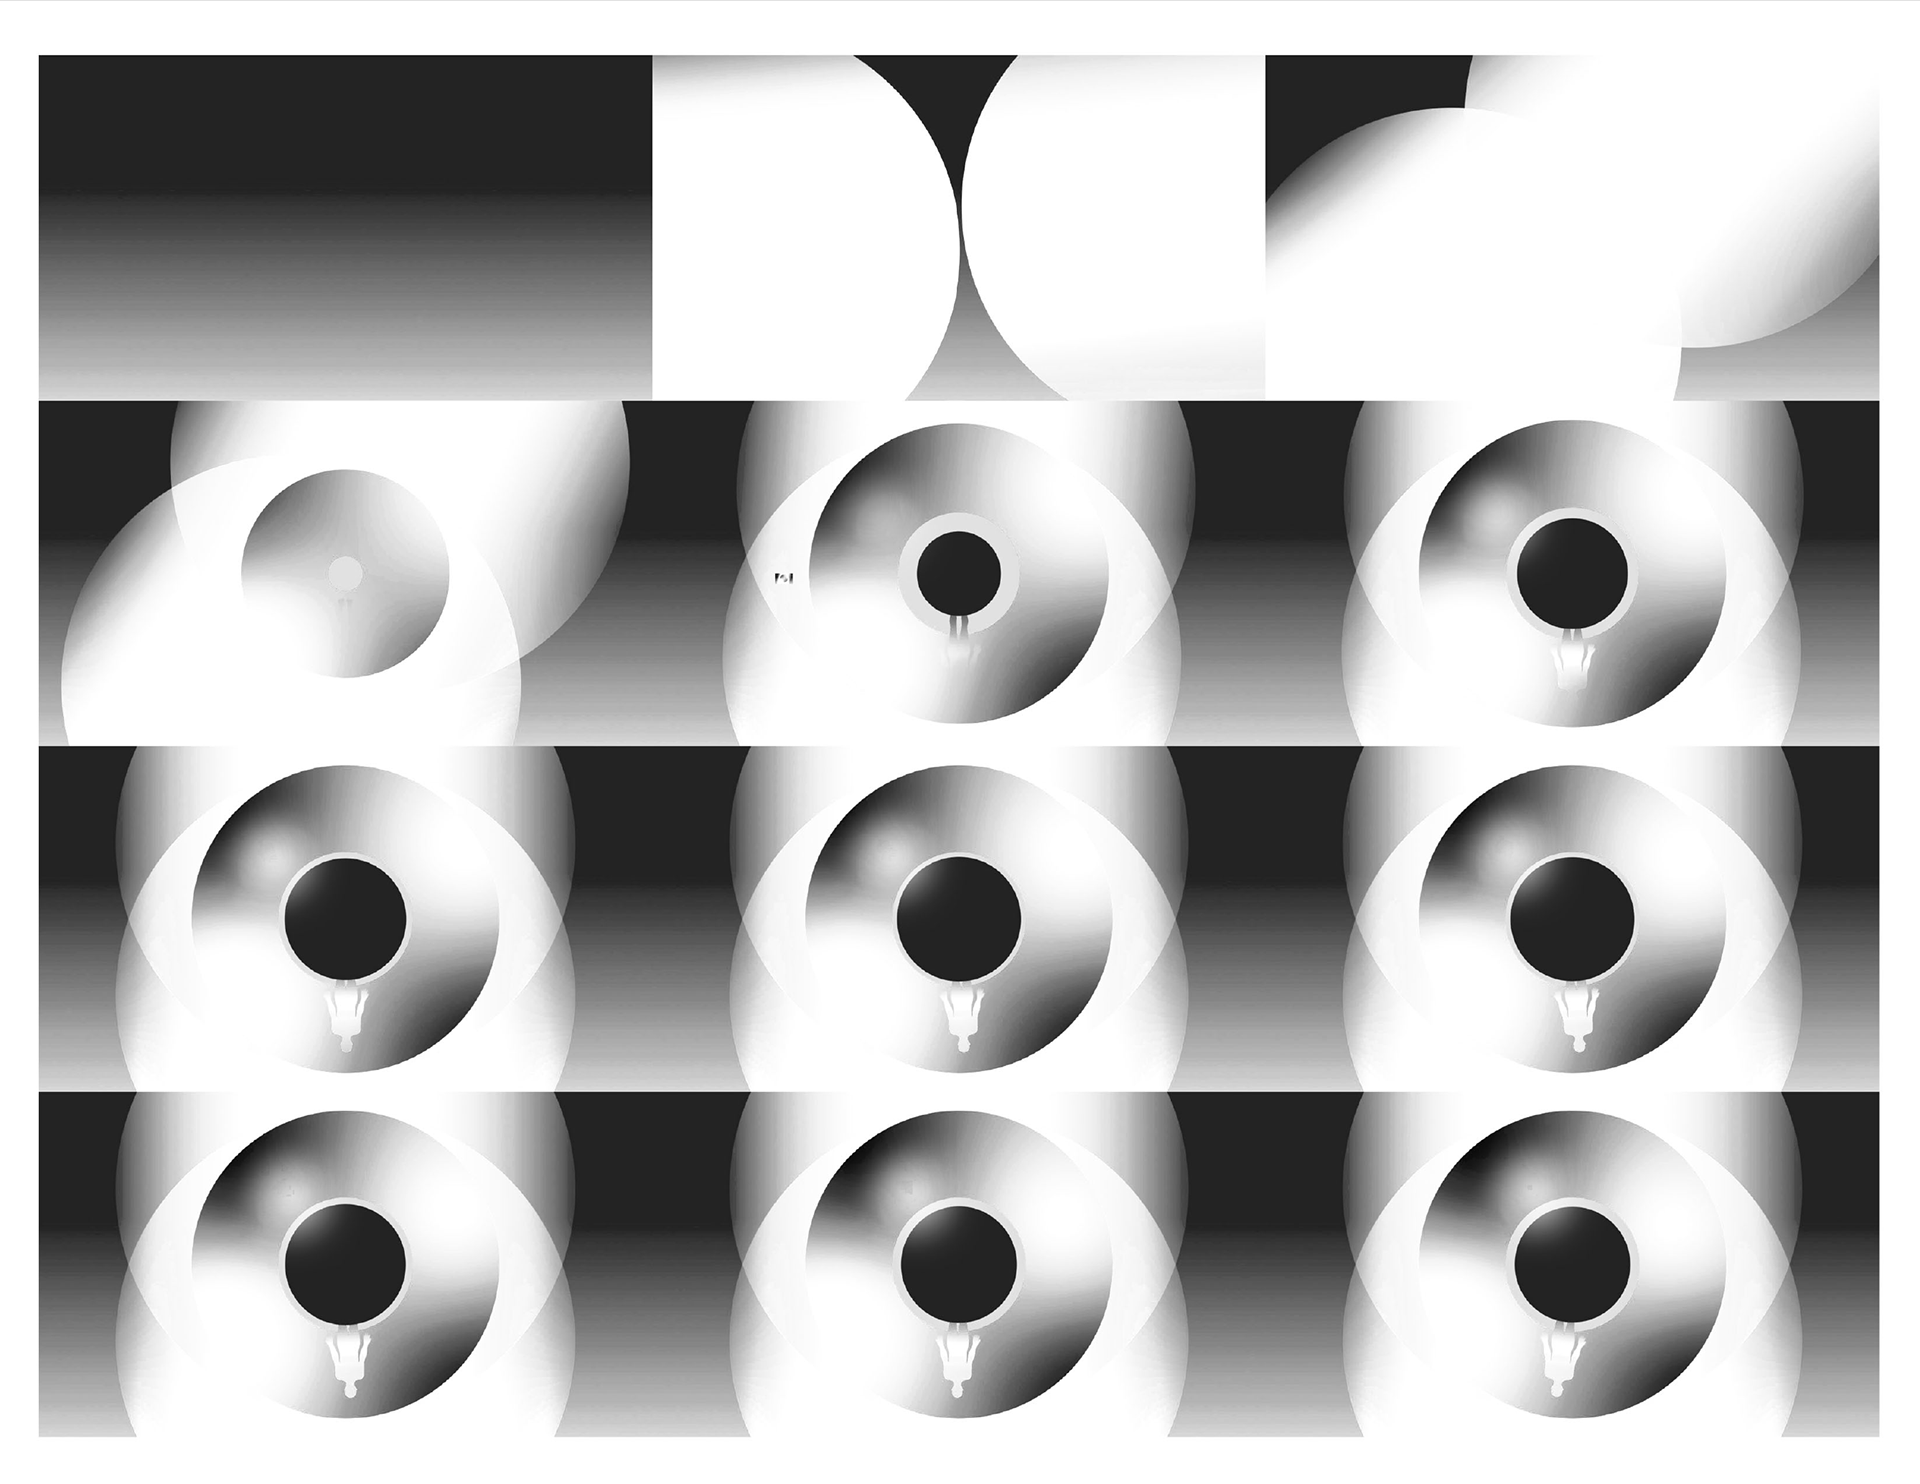
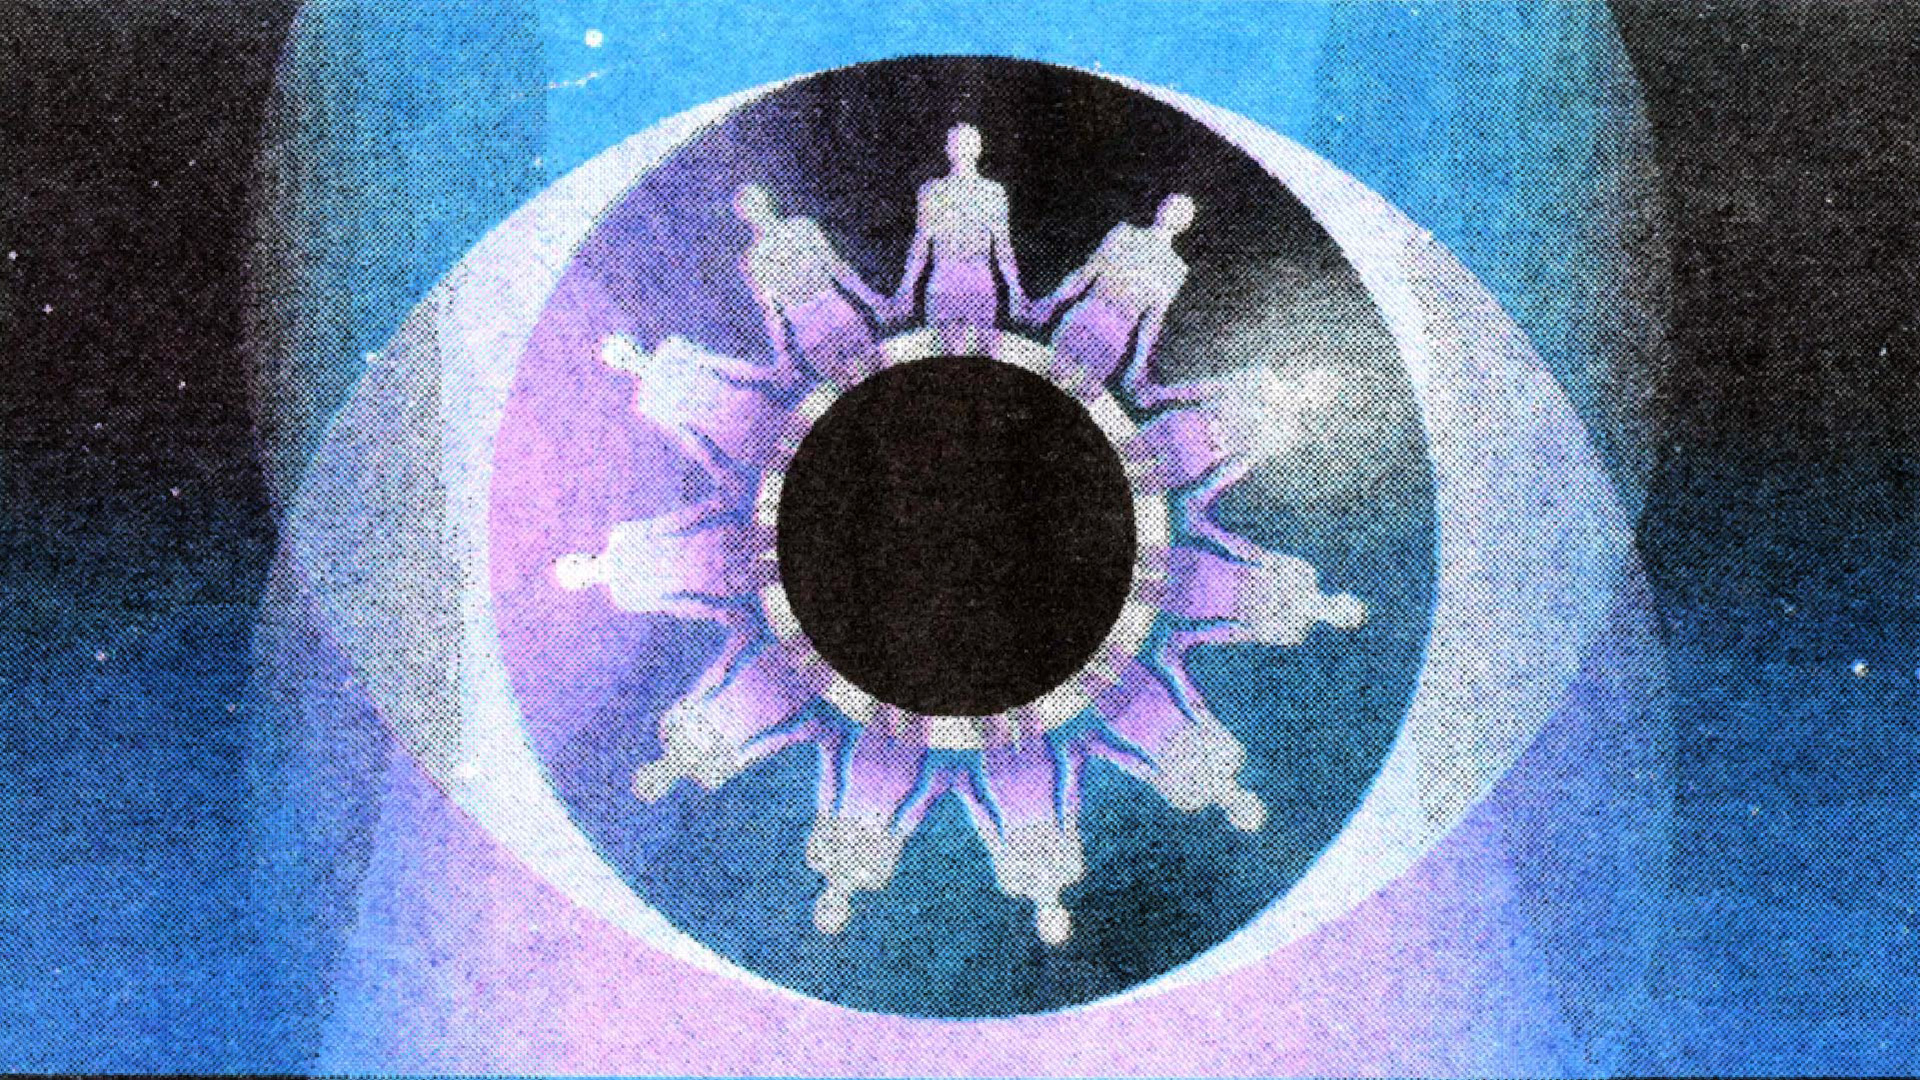
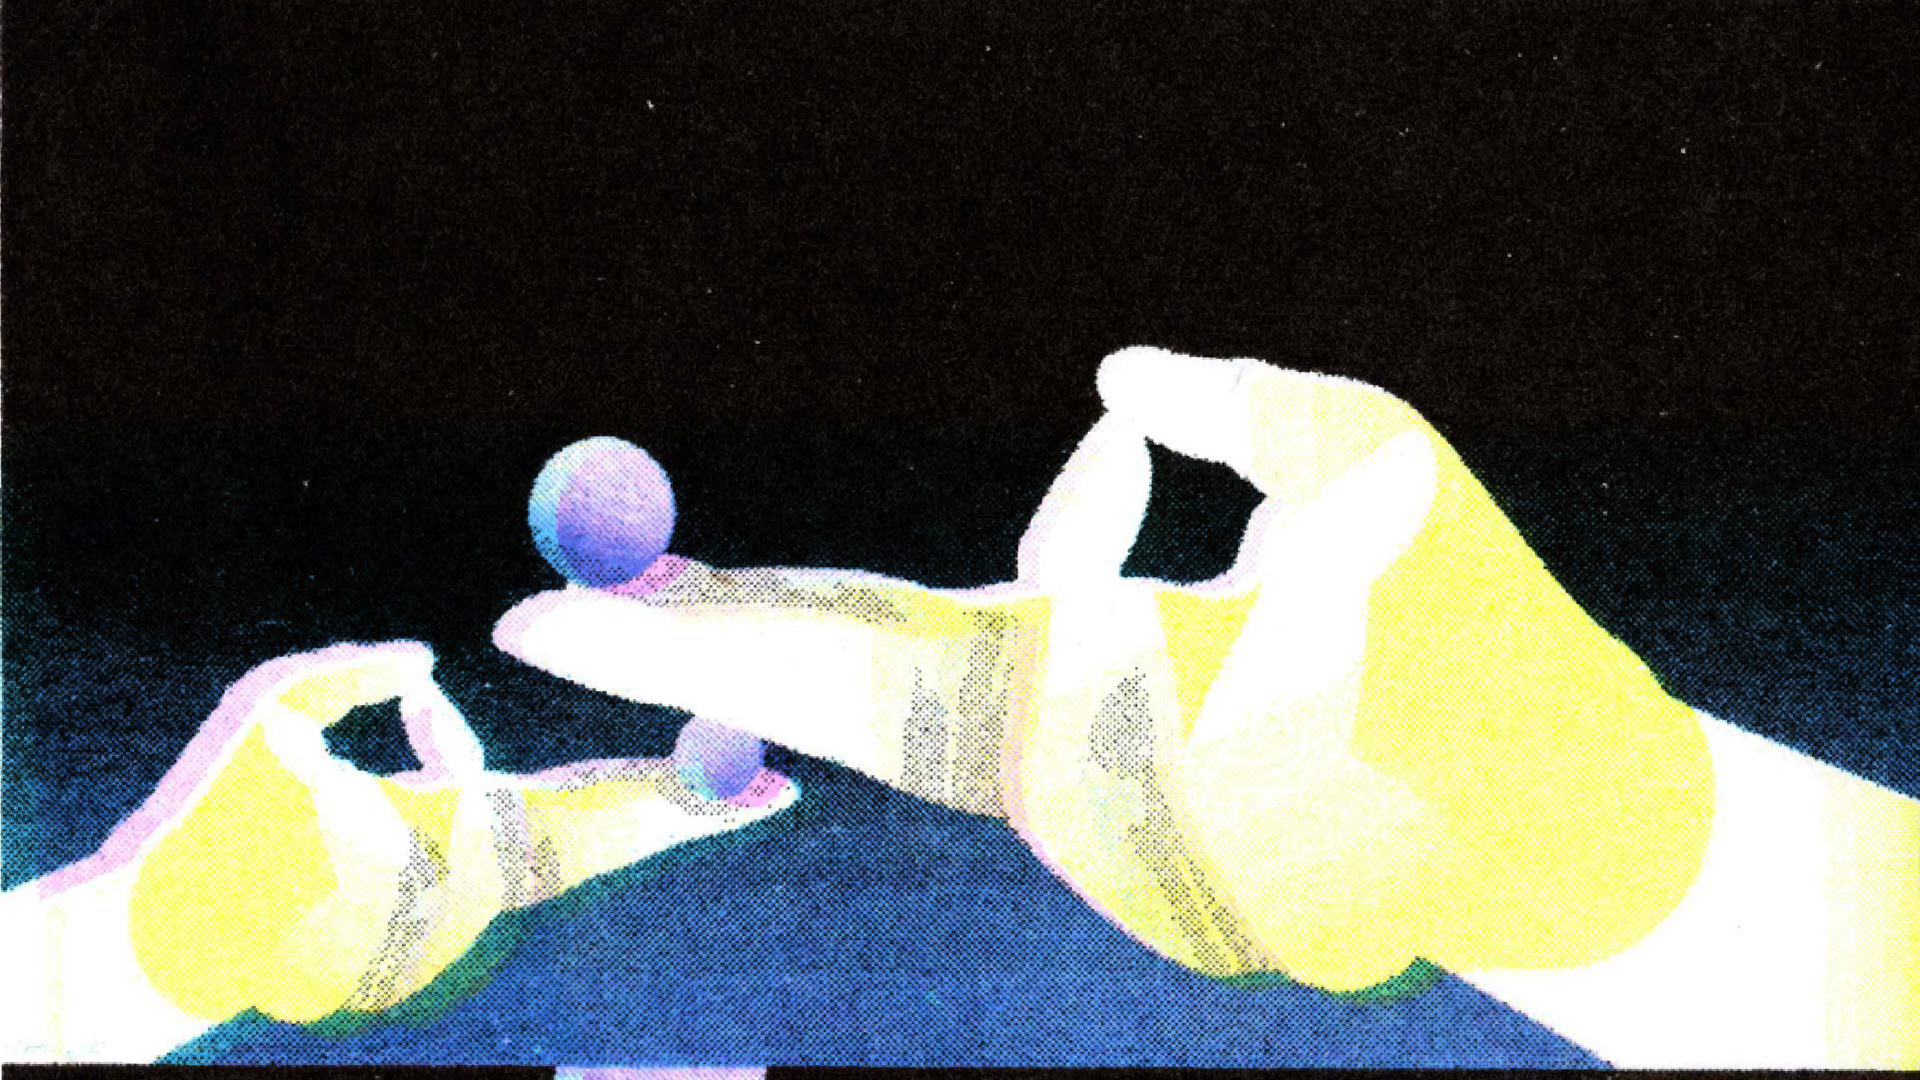
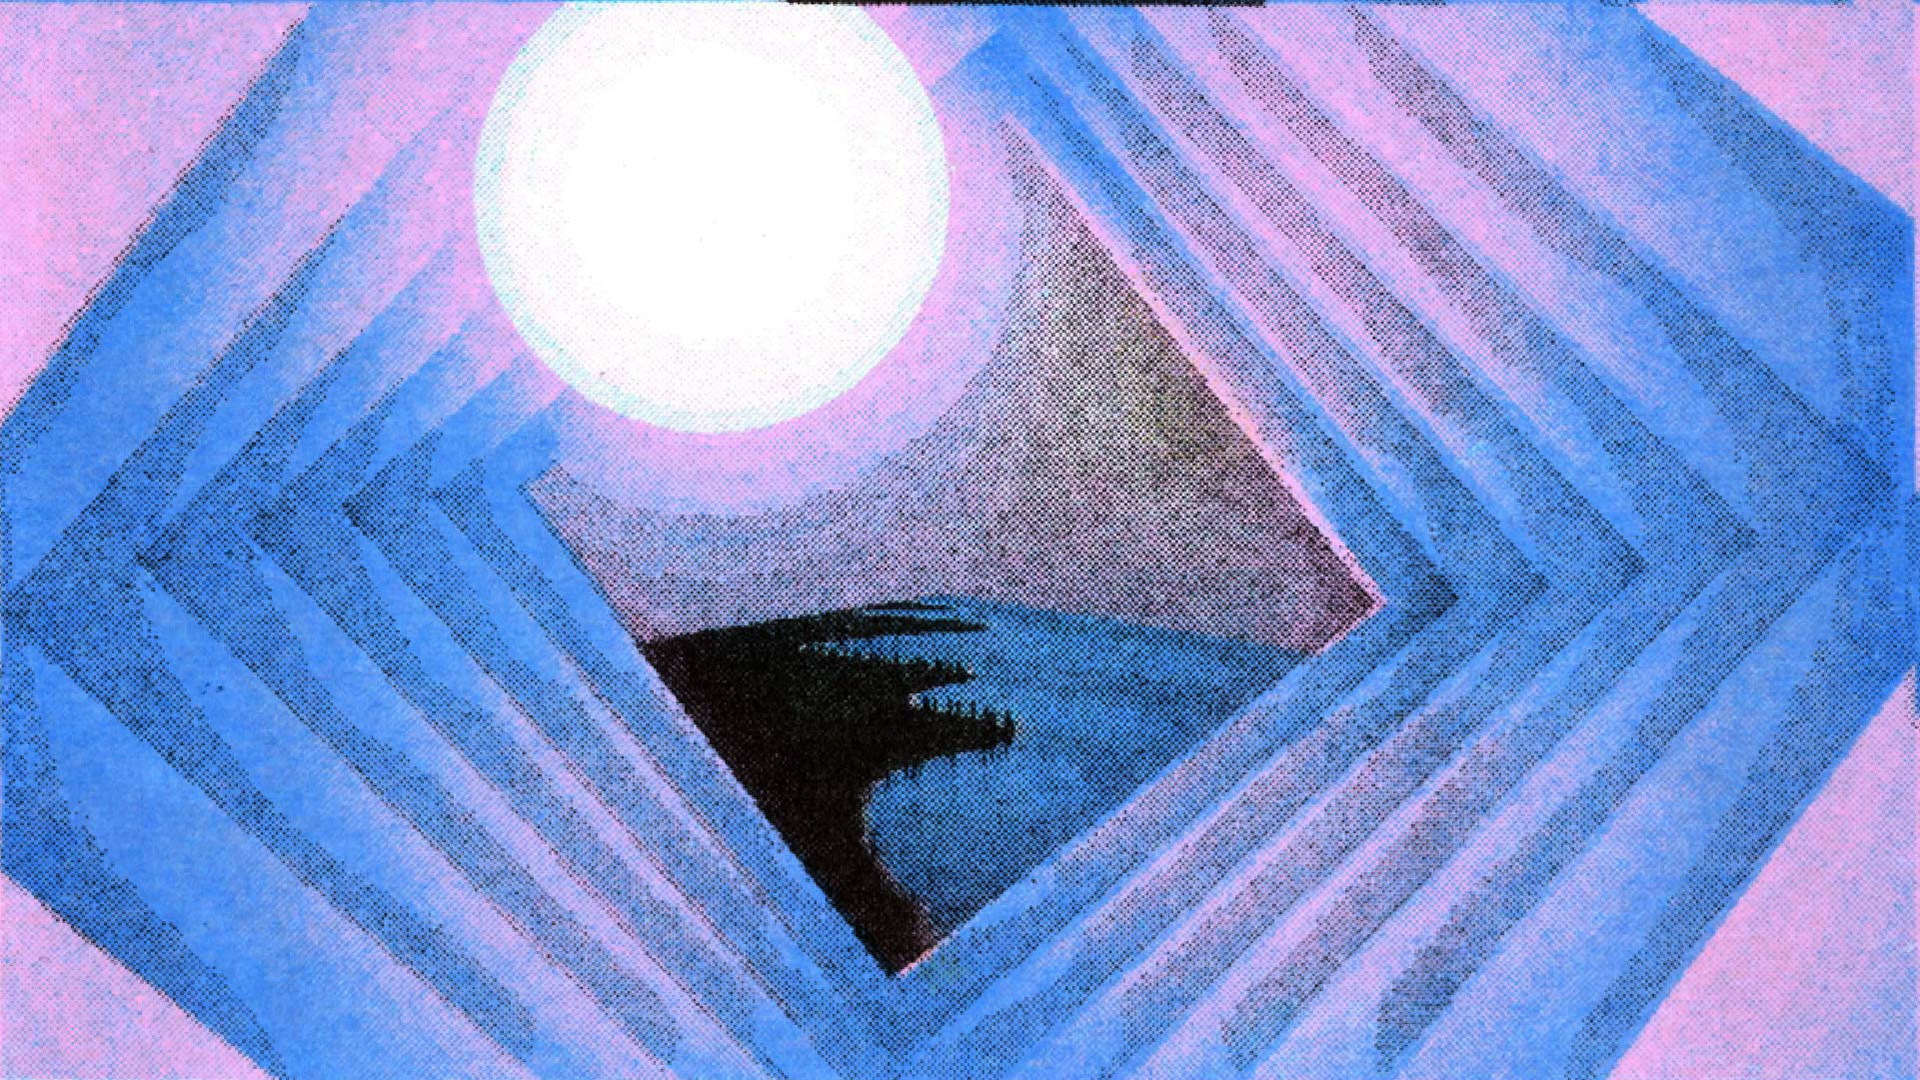
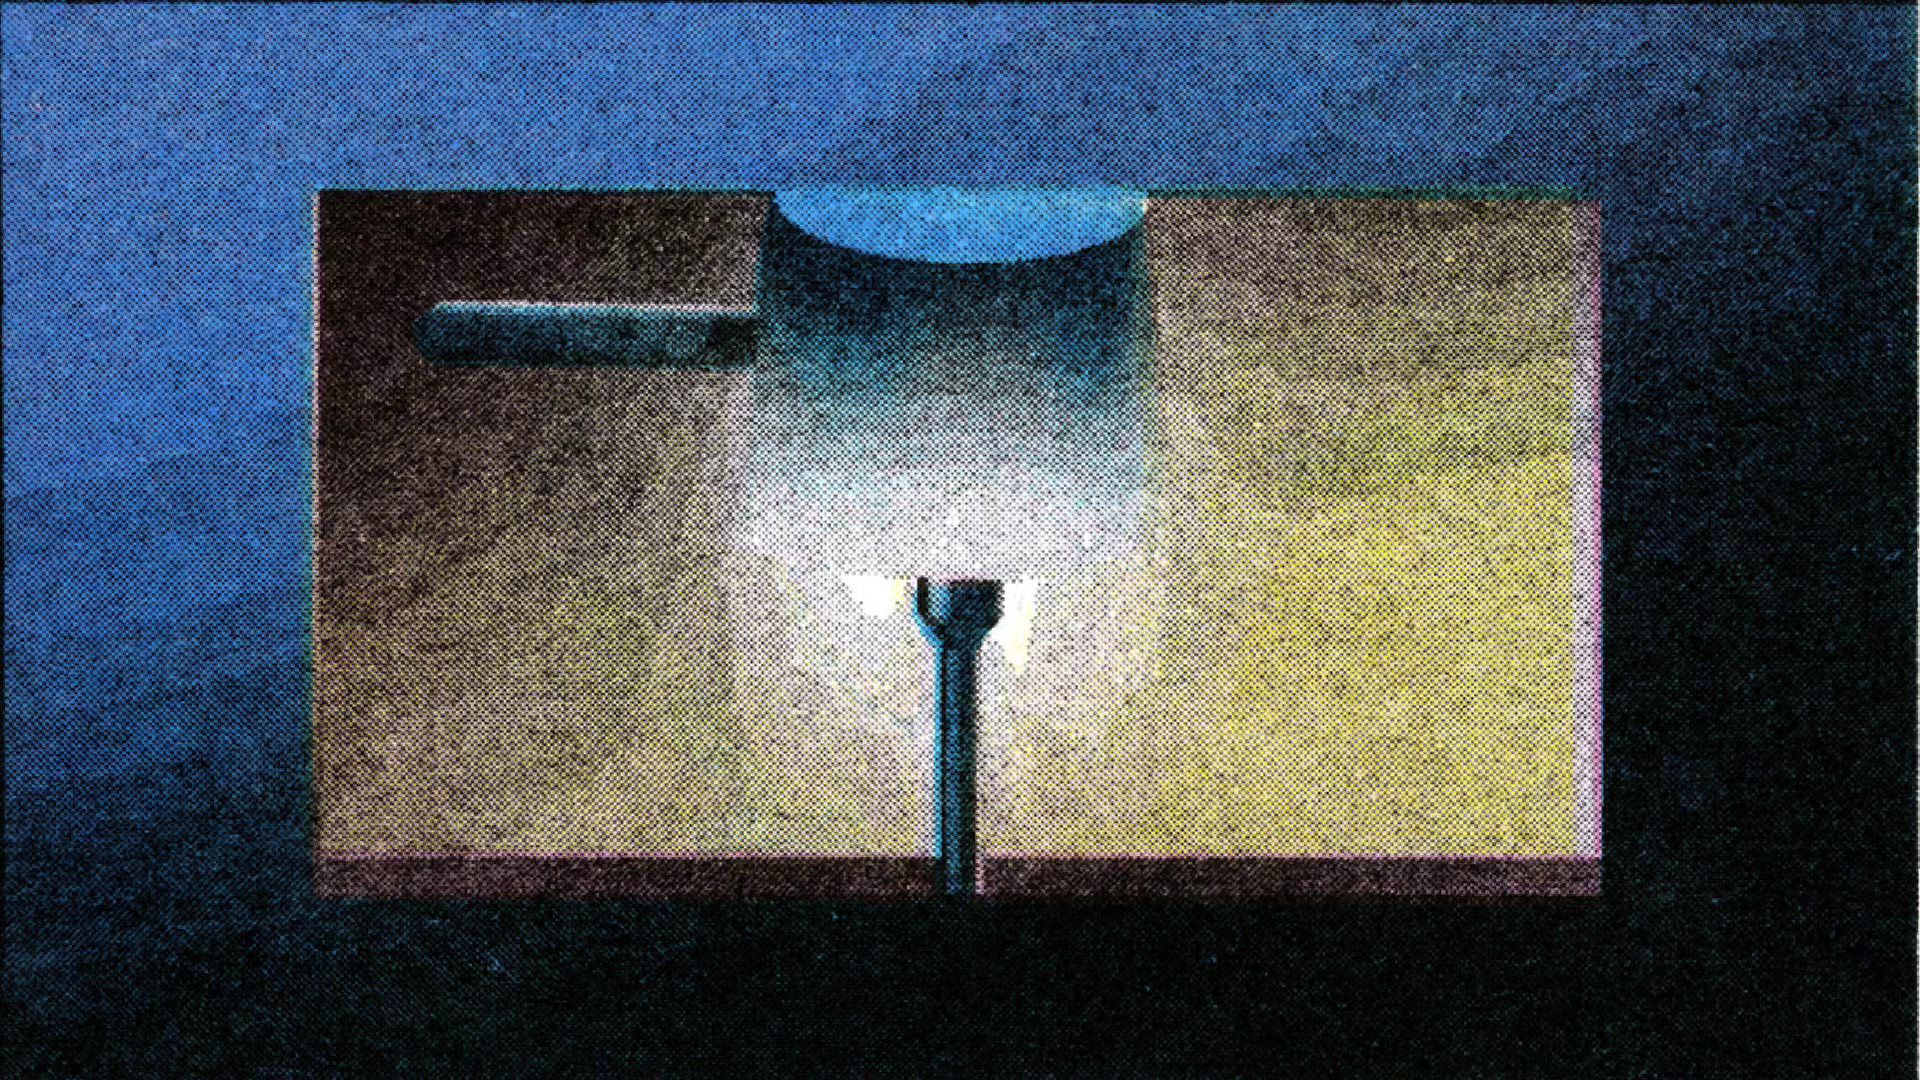
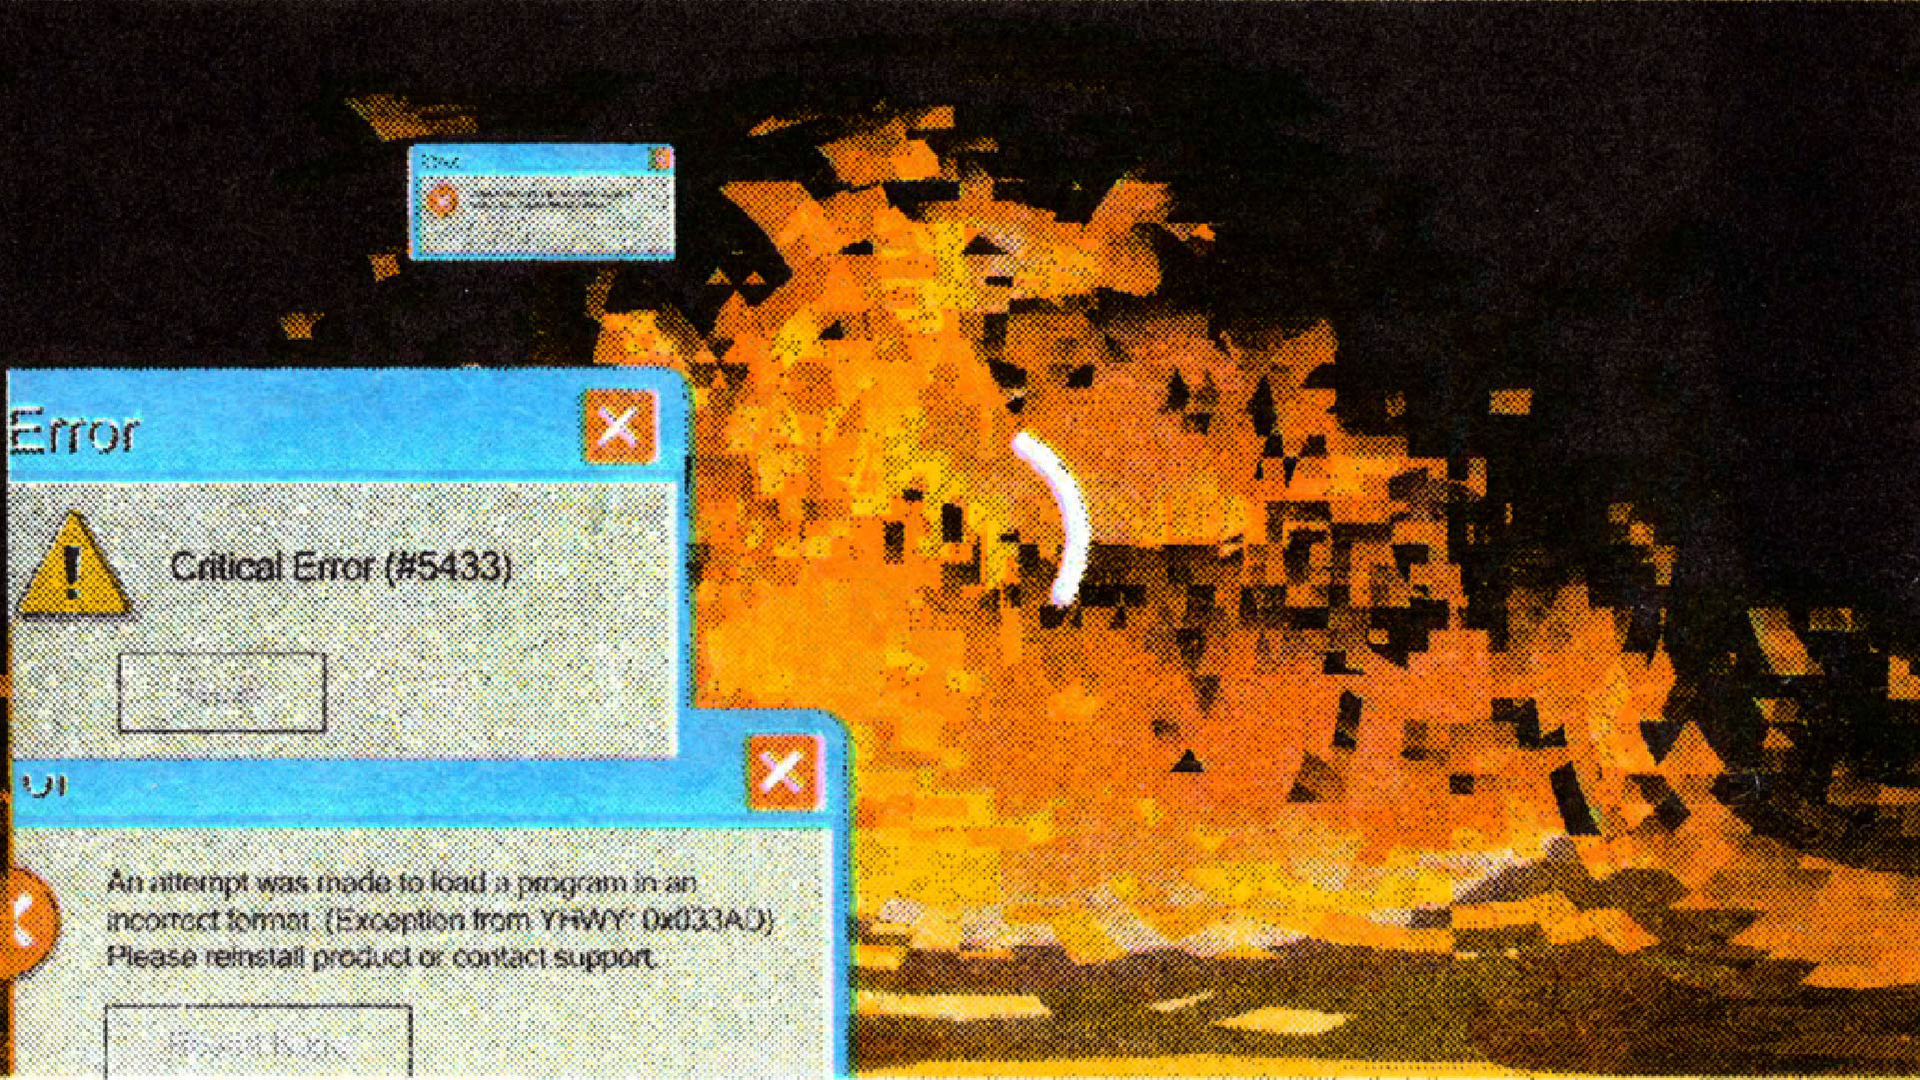
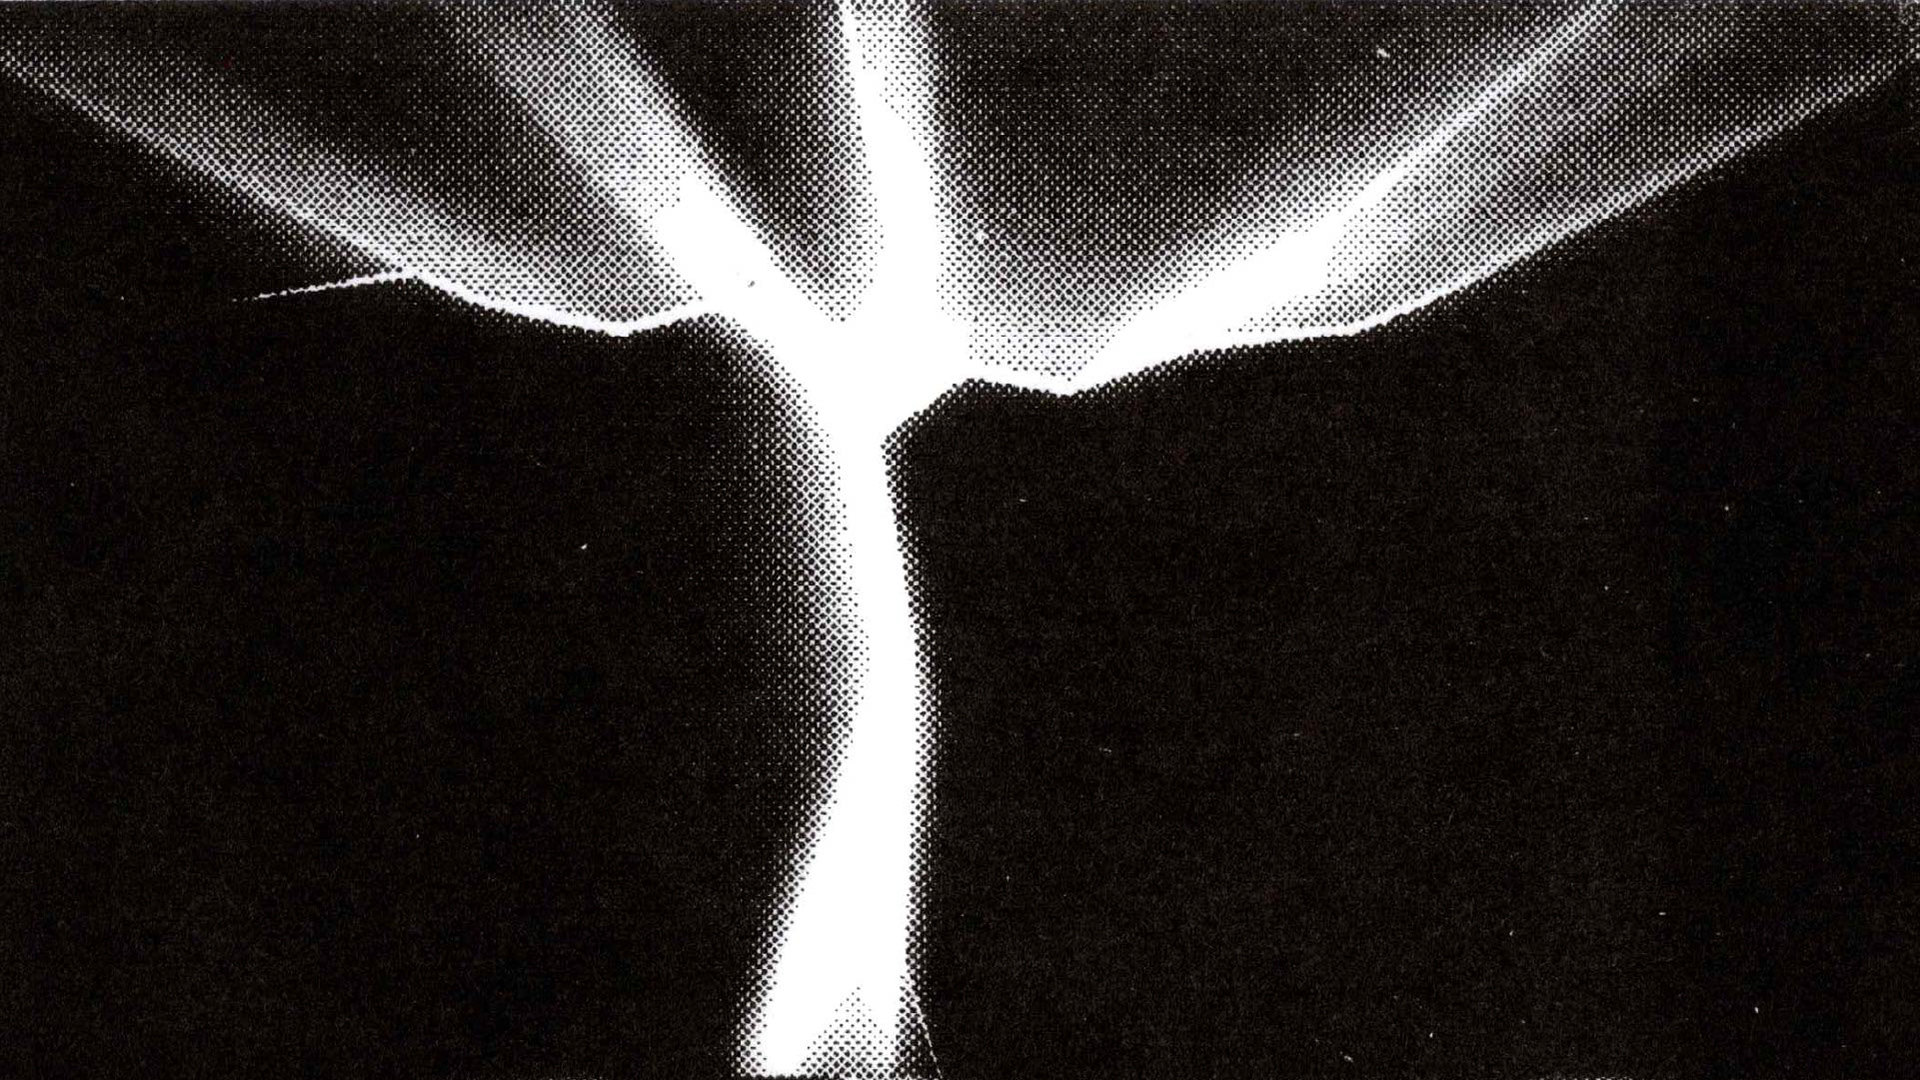
The topic of my animation is based on the biblical story of the Tower of Babel and its parallels with the reversal at Pentecost. With themes of destructive innovation and an elevation of oneself, there are parallels between this story and the use of the Risograph. In the face of a digital infinity where people are uniting in the pursuit of something that could potentially end in harm, I want to pull back the reins and return to a more tactile technique.
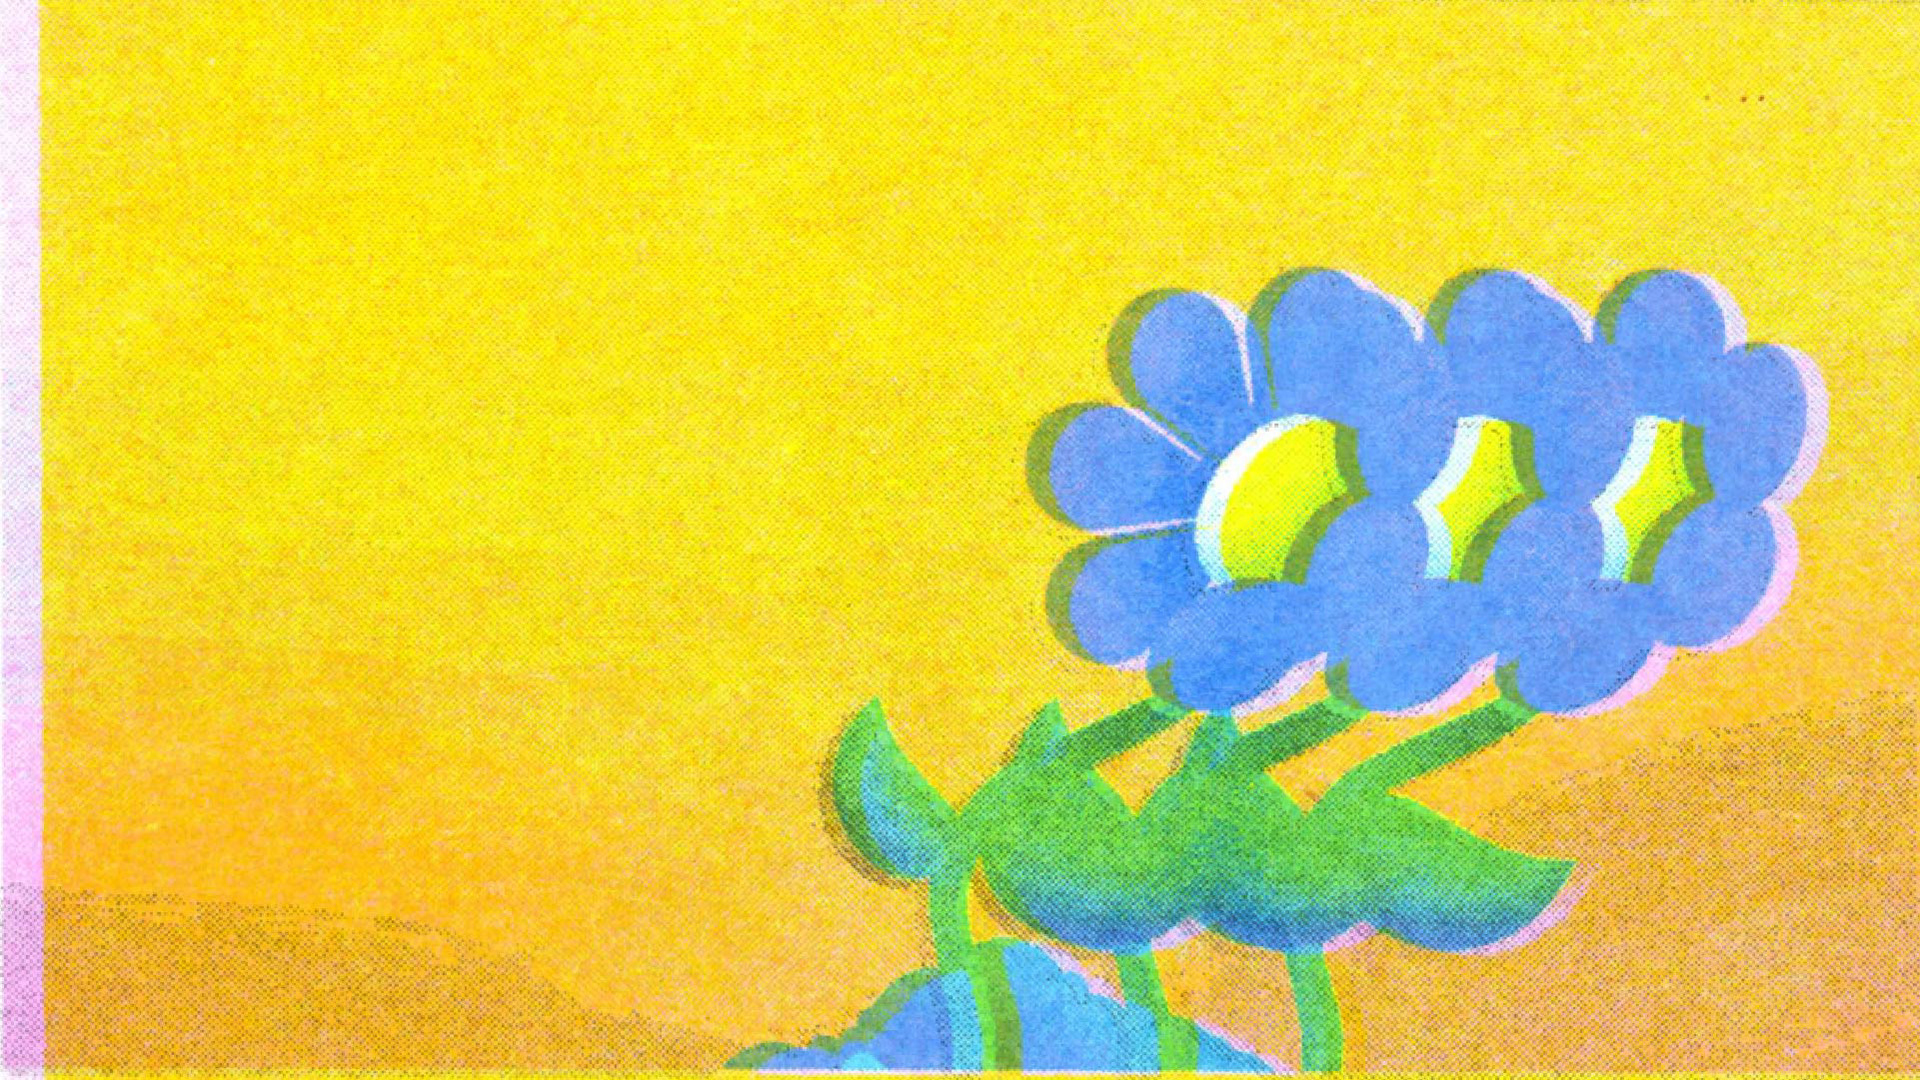
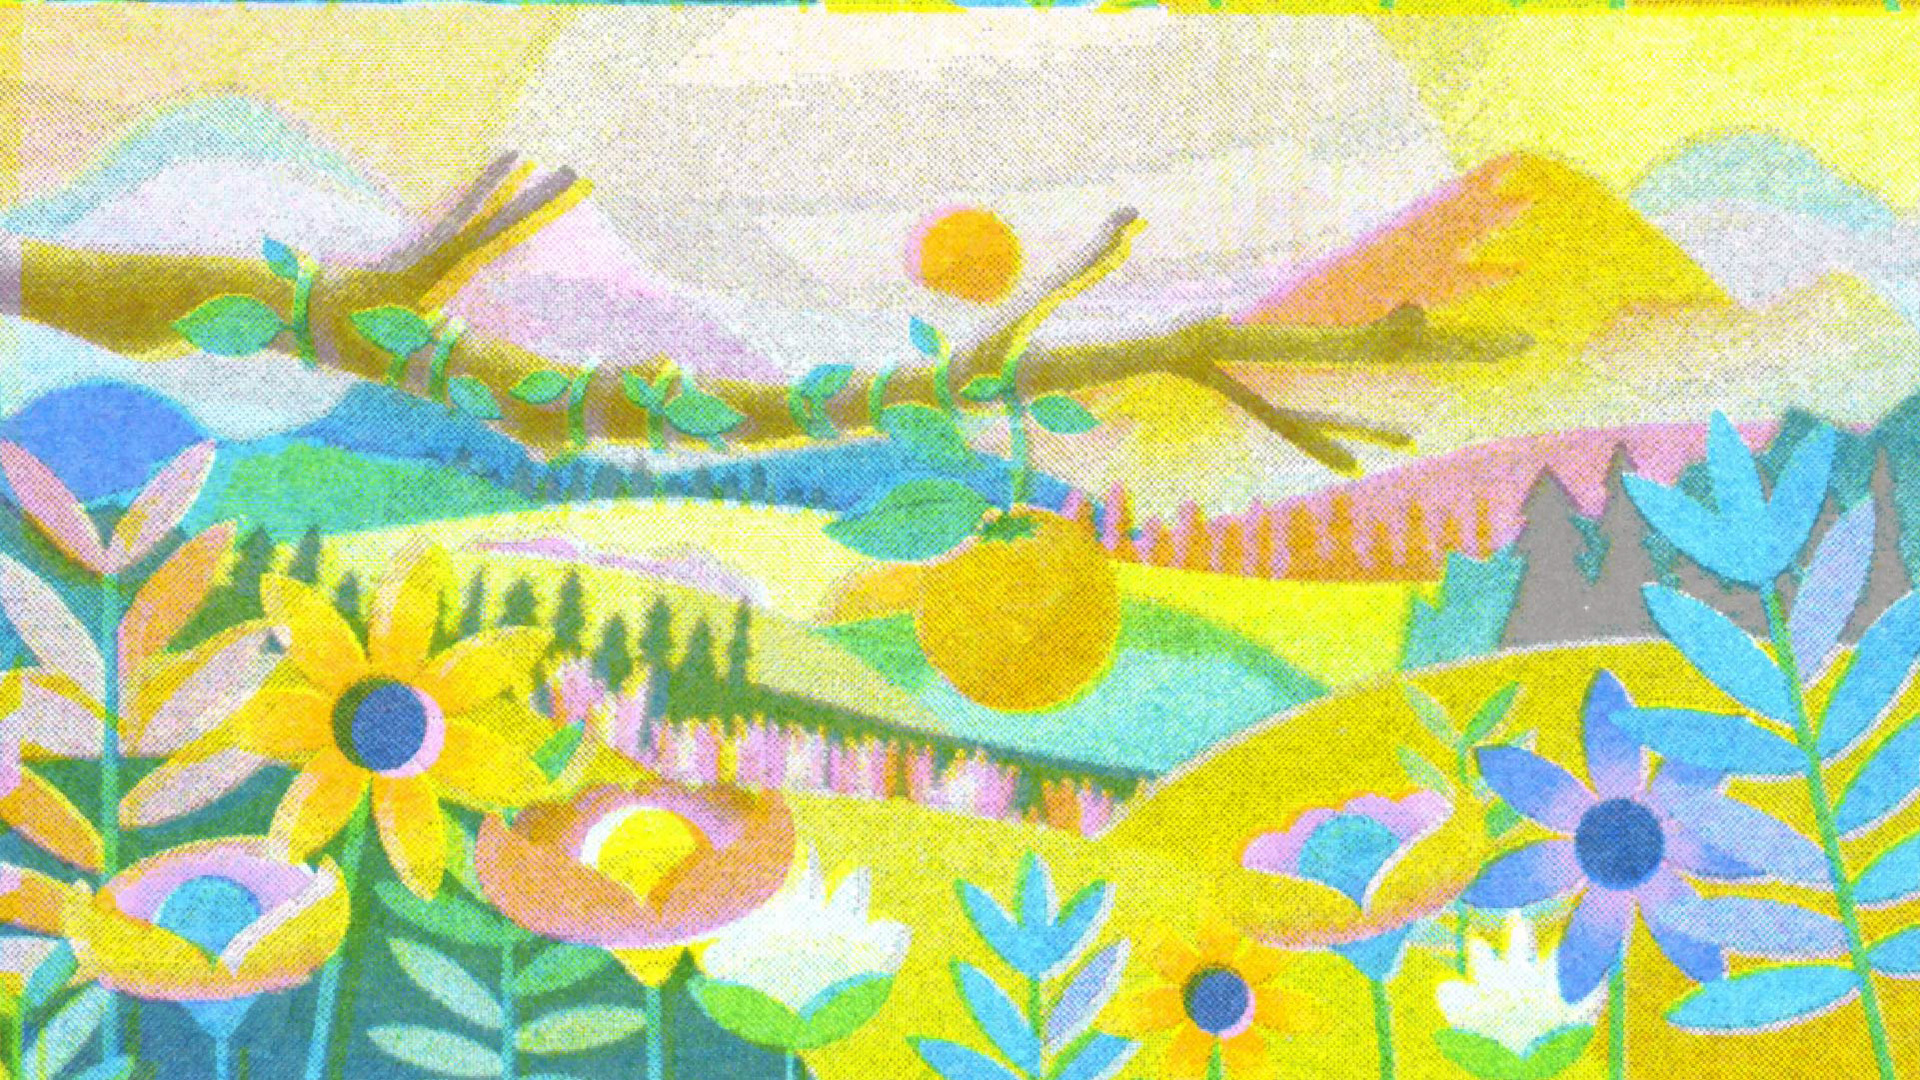
Babel - Risograph Animation
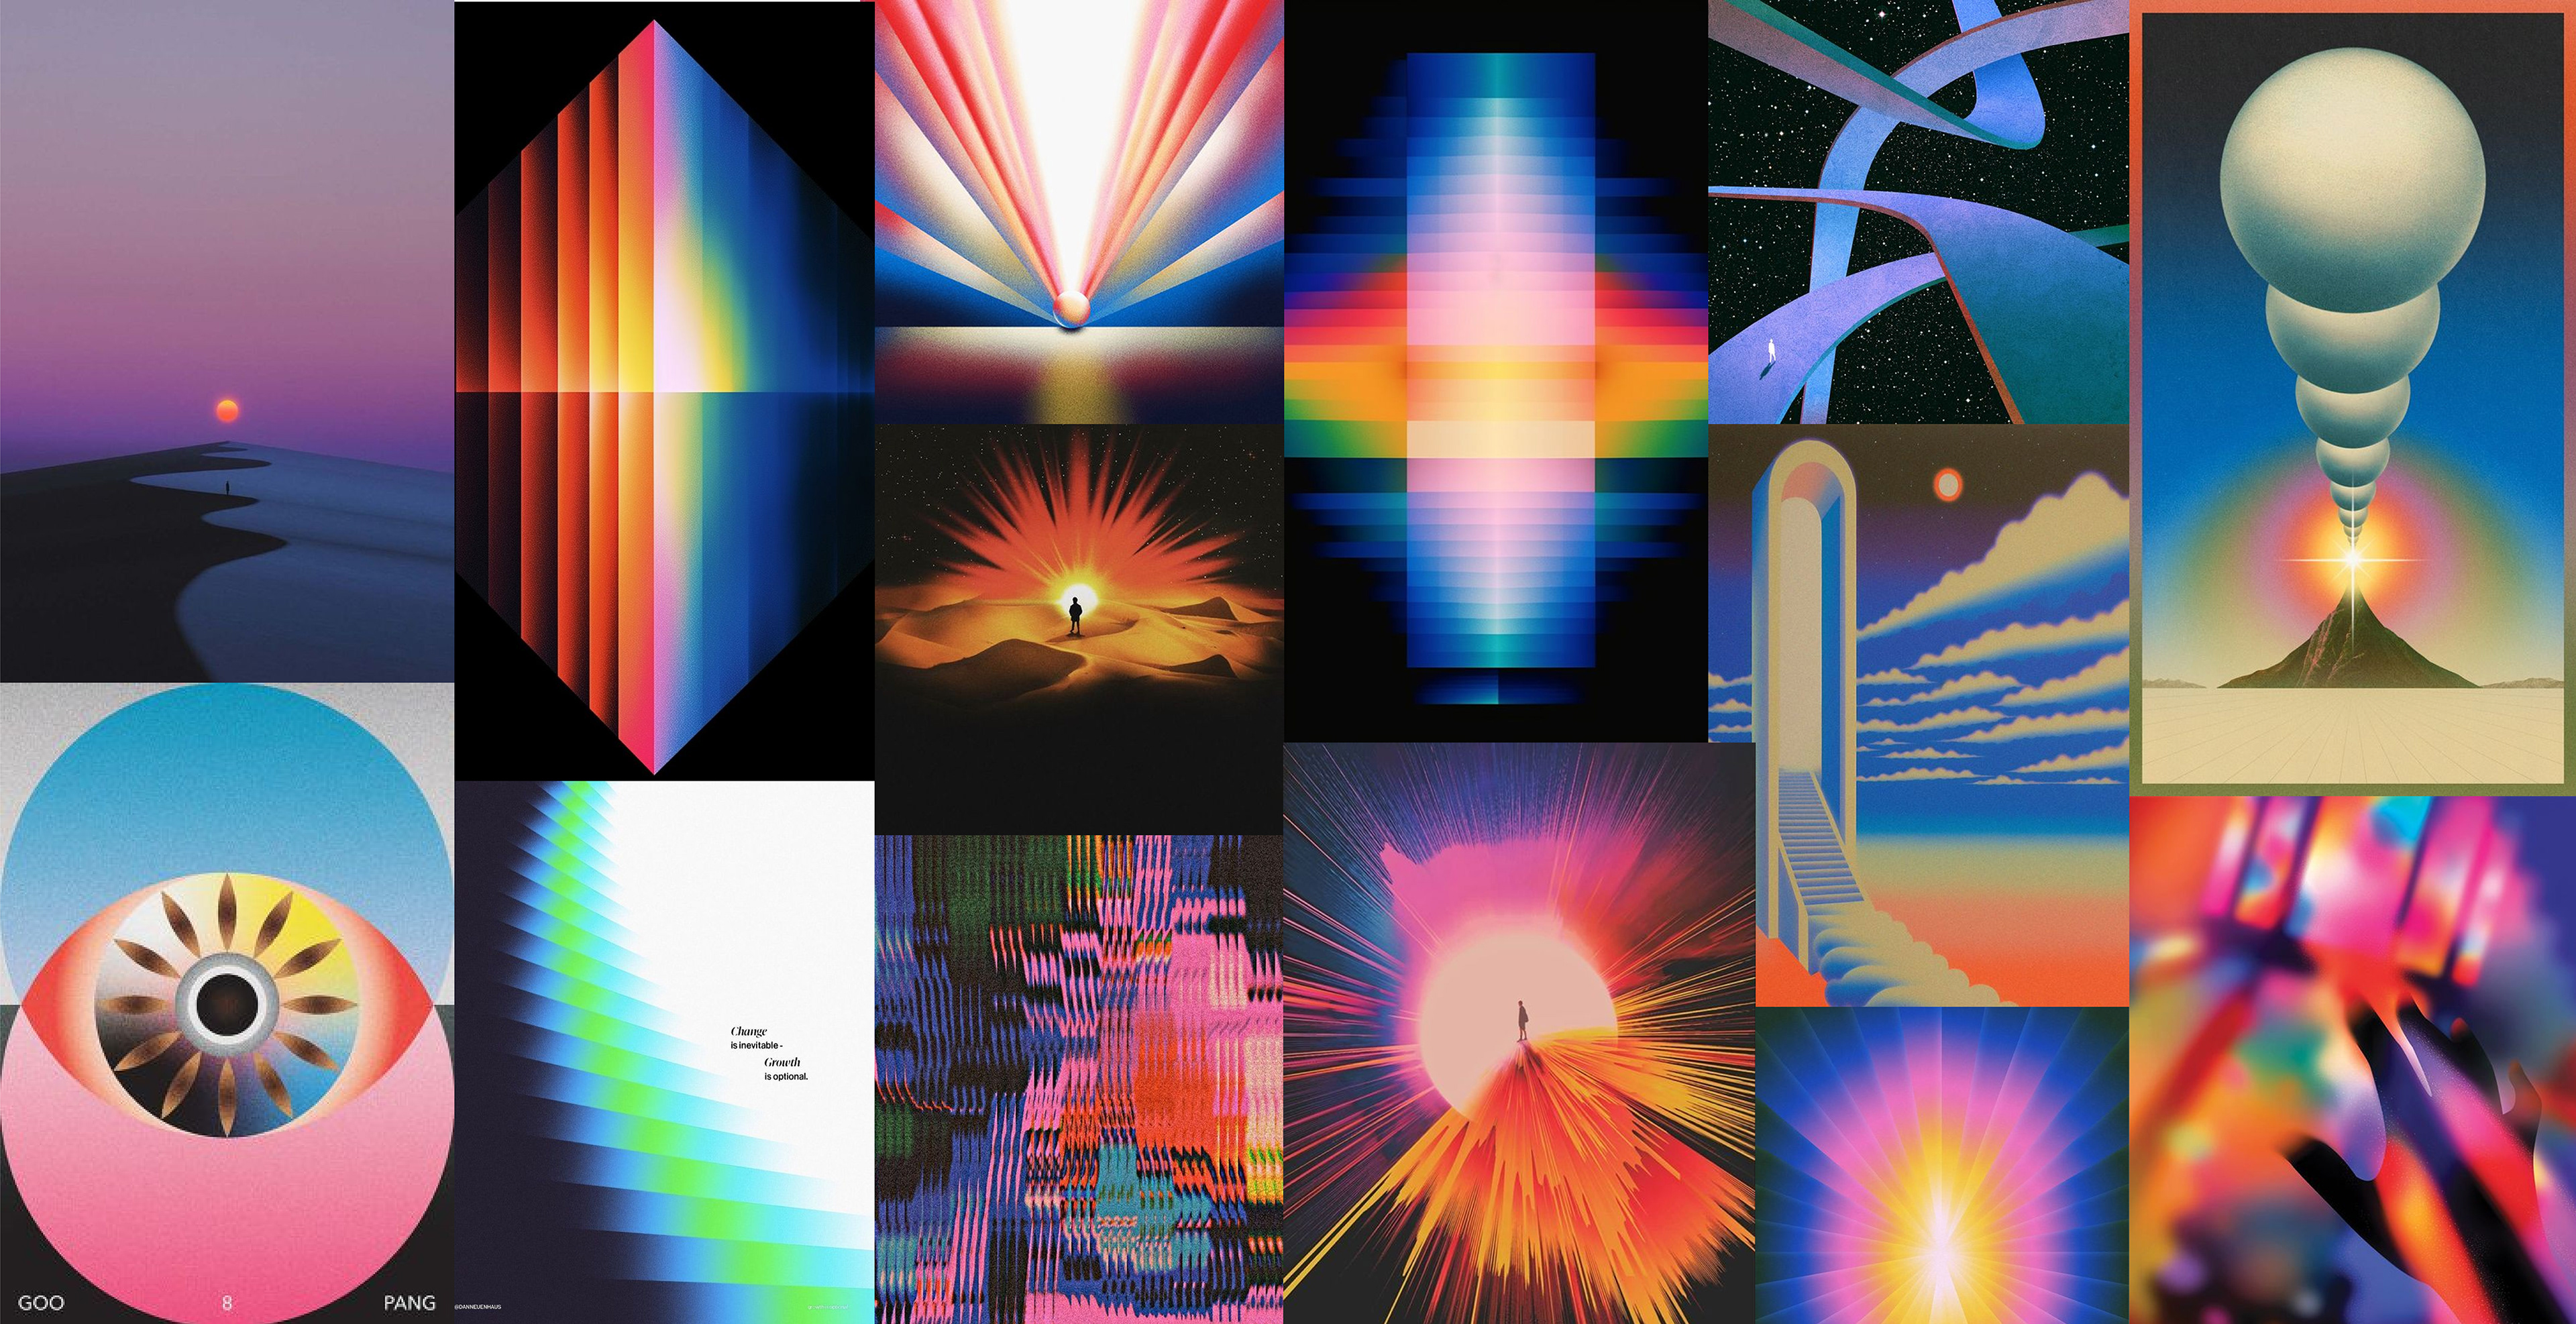
Babel - Digital Animation
2 second test animation
Process
1.) Animate
I designed many of the style frames in Illustrator and utilized Battle Axe’s Plugin “Overlord” to quickly import the paths into after effects to be animated.
I then recorded a demo voice over and animated to this timing in After Effects.
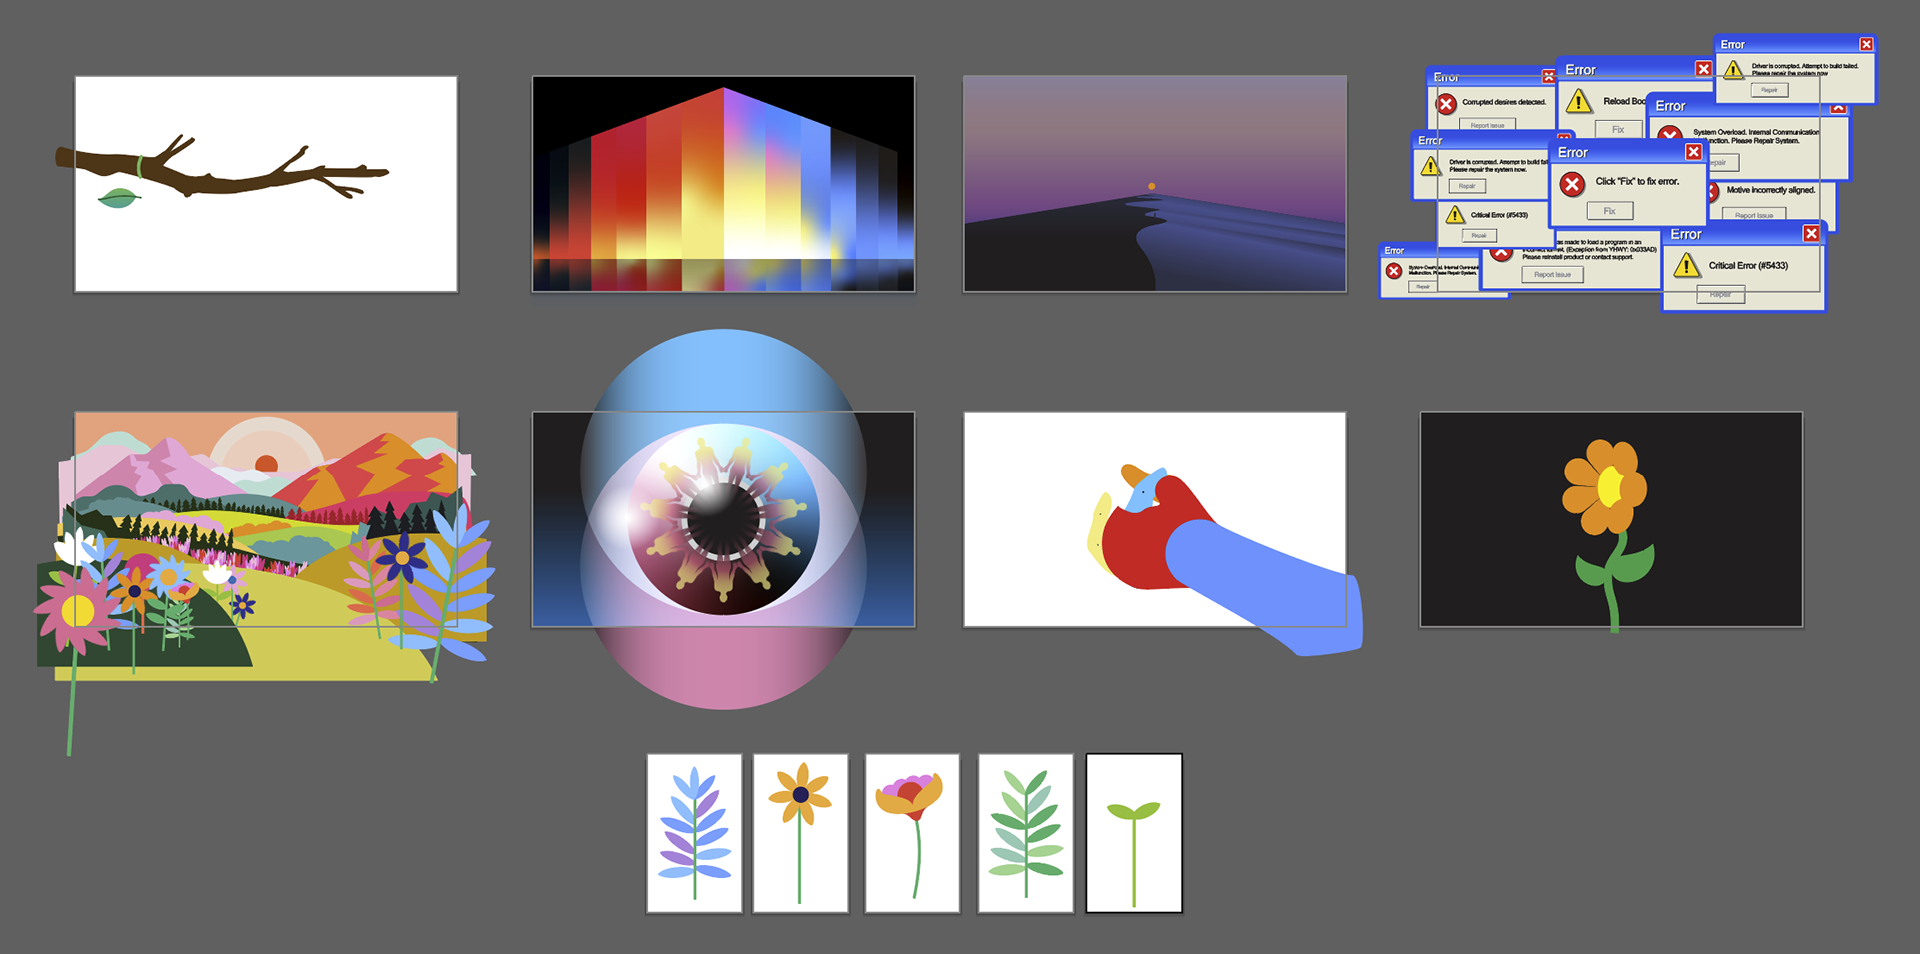
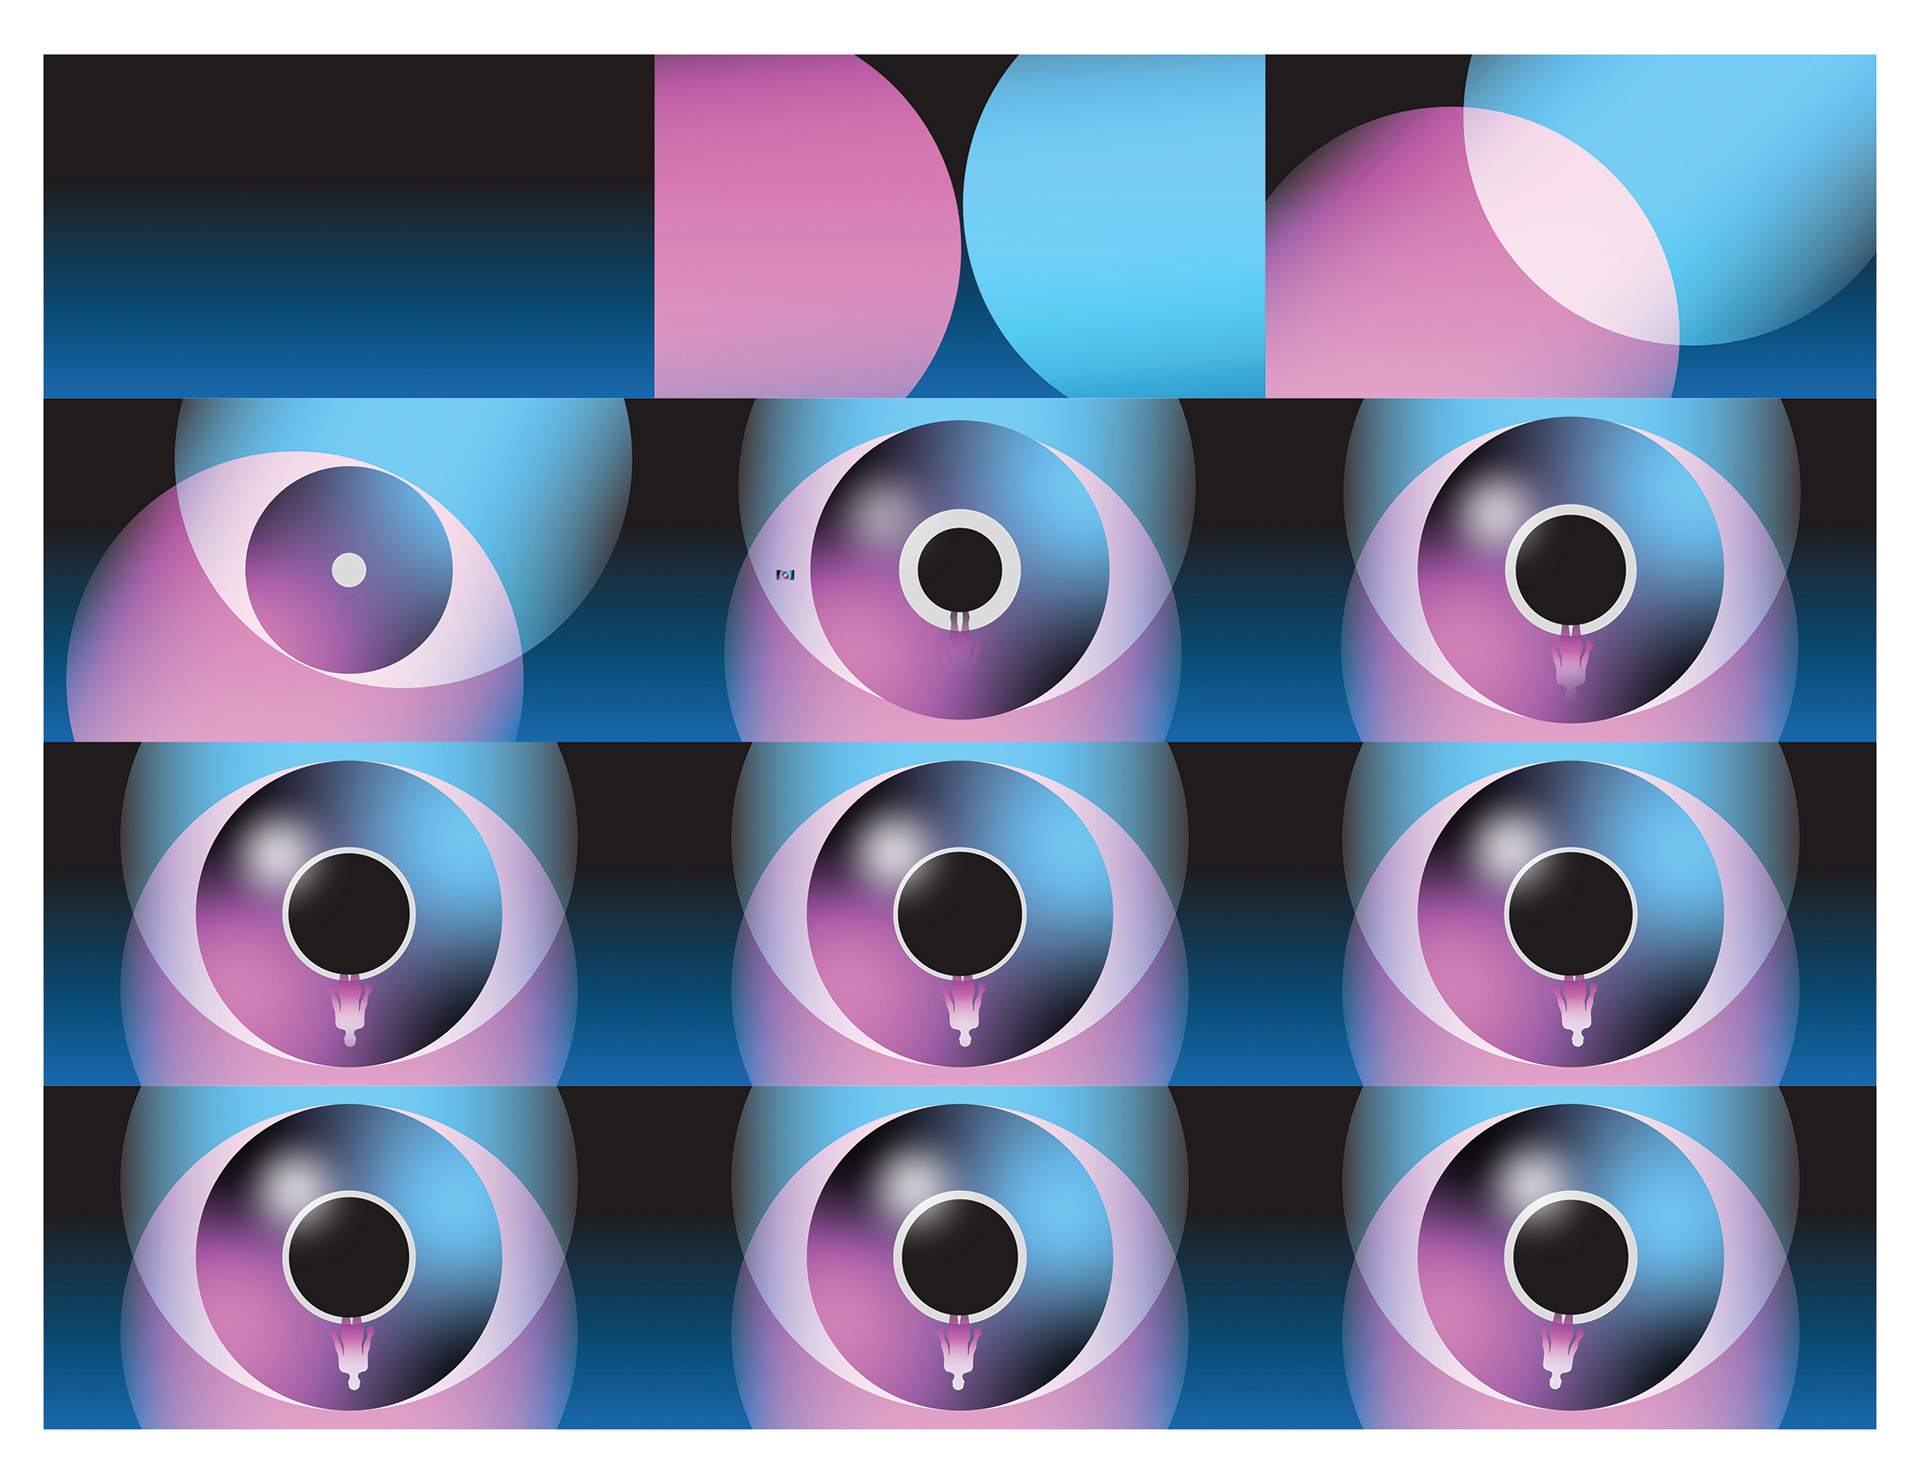
Designs in Illustrator
Mood board
2.) Export frames and lay them out 12 frames per page (12 fps)
I used InDesign to create 12 frames layouts. I selected all of the frames after clicking “place”, filled all 736 frames, then fit each of them proportionally to the frames.
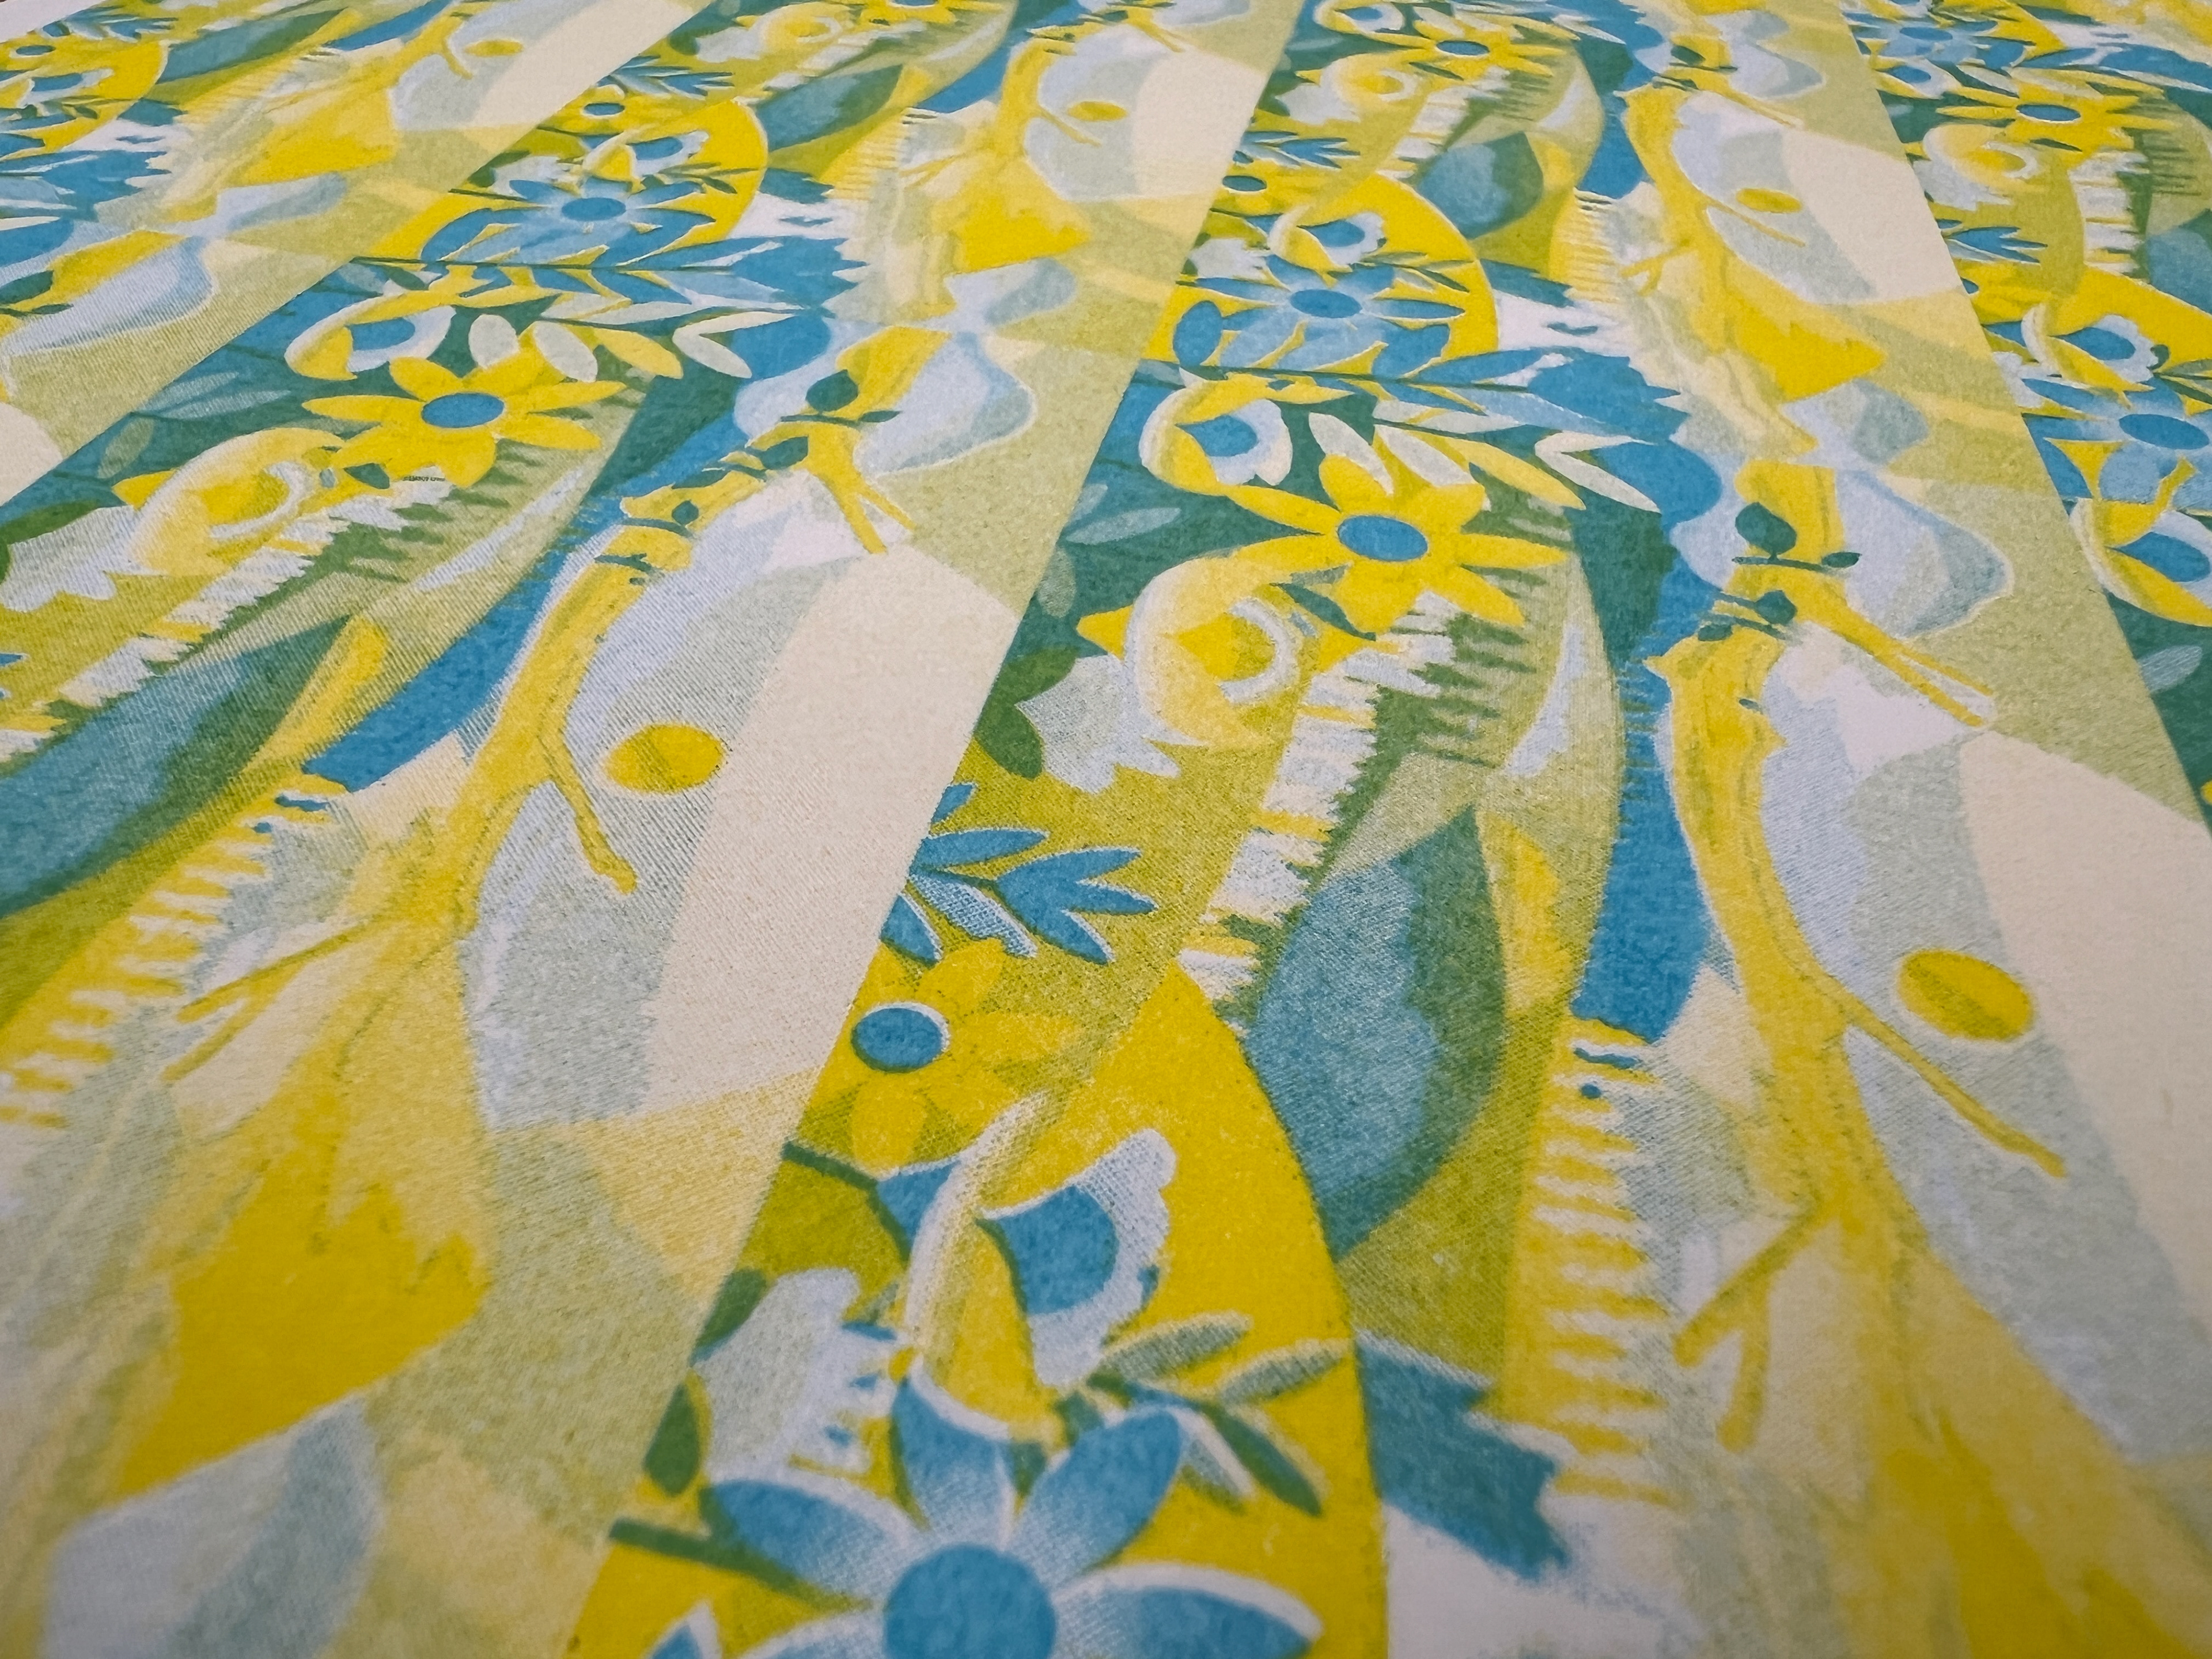
3.) Use Spectrolite/Photoshop to split the channels into CMYK
Spectrolite is designed specifically for the Risograph printer to separate colors to the exact inks that the printer utilizes. The Black & White values translate how much of ink color is needed during the printing process.
Black Layer
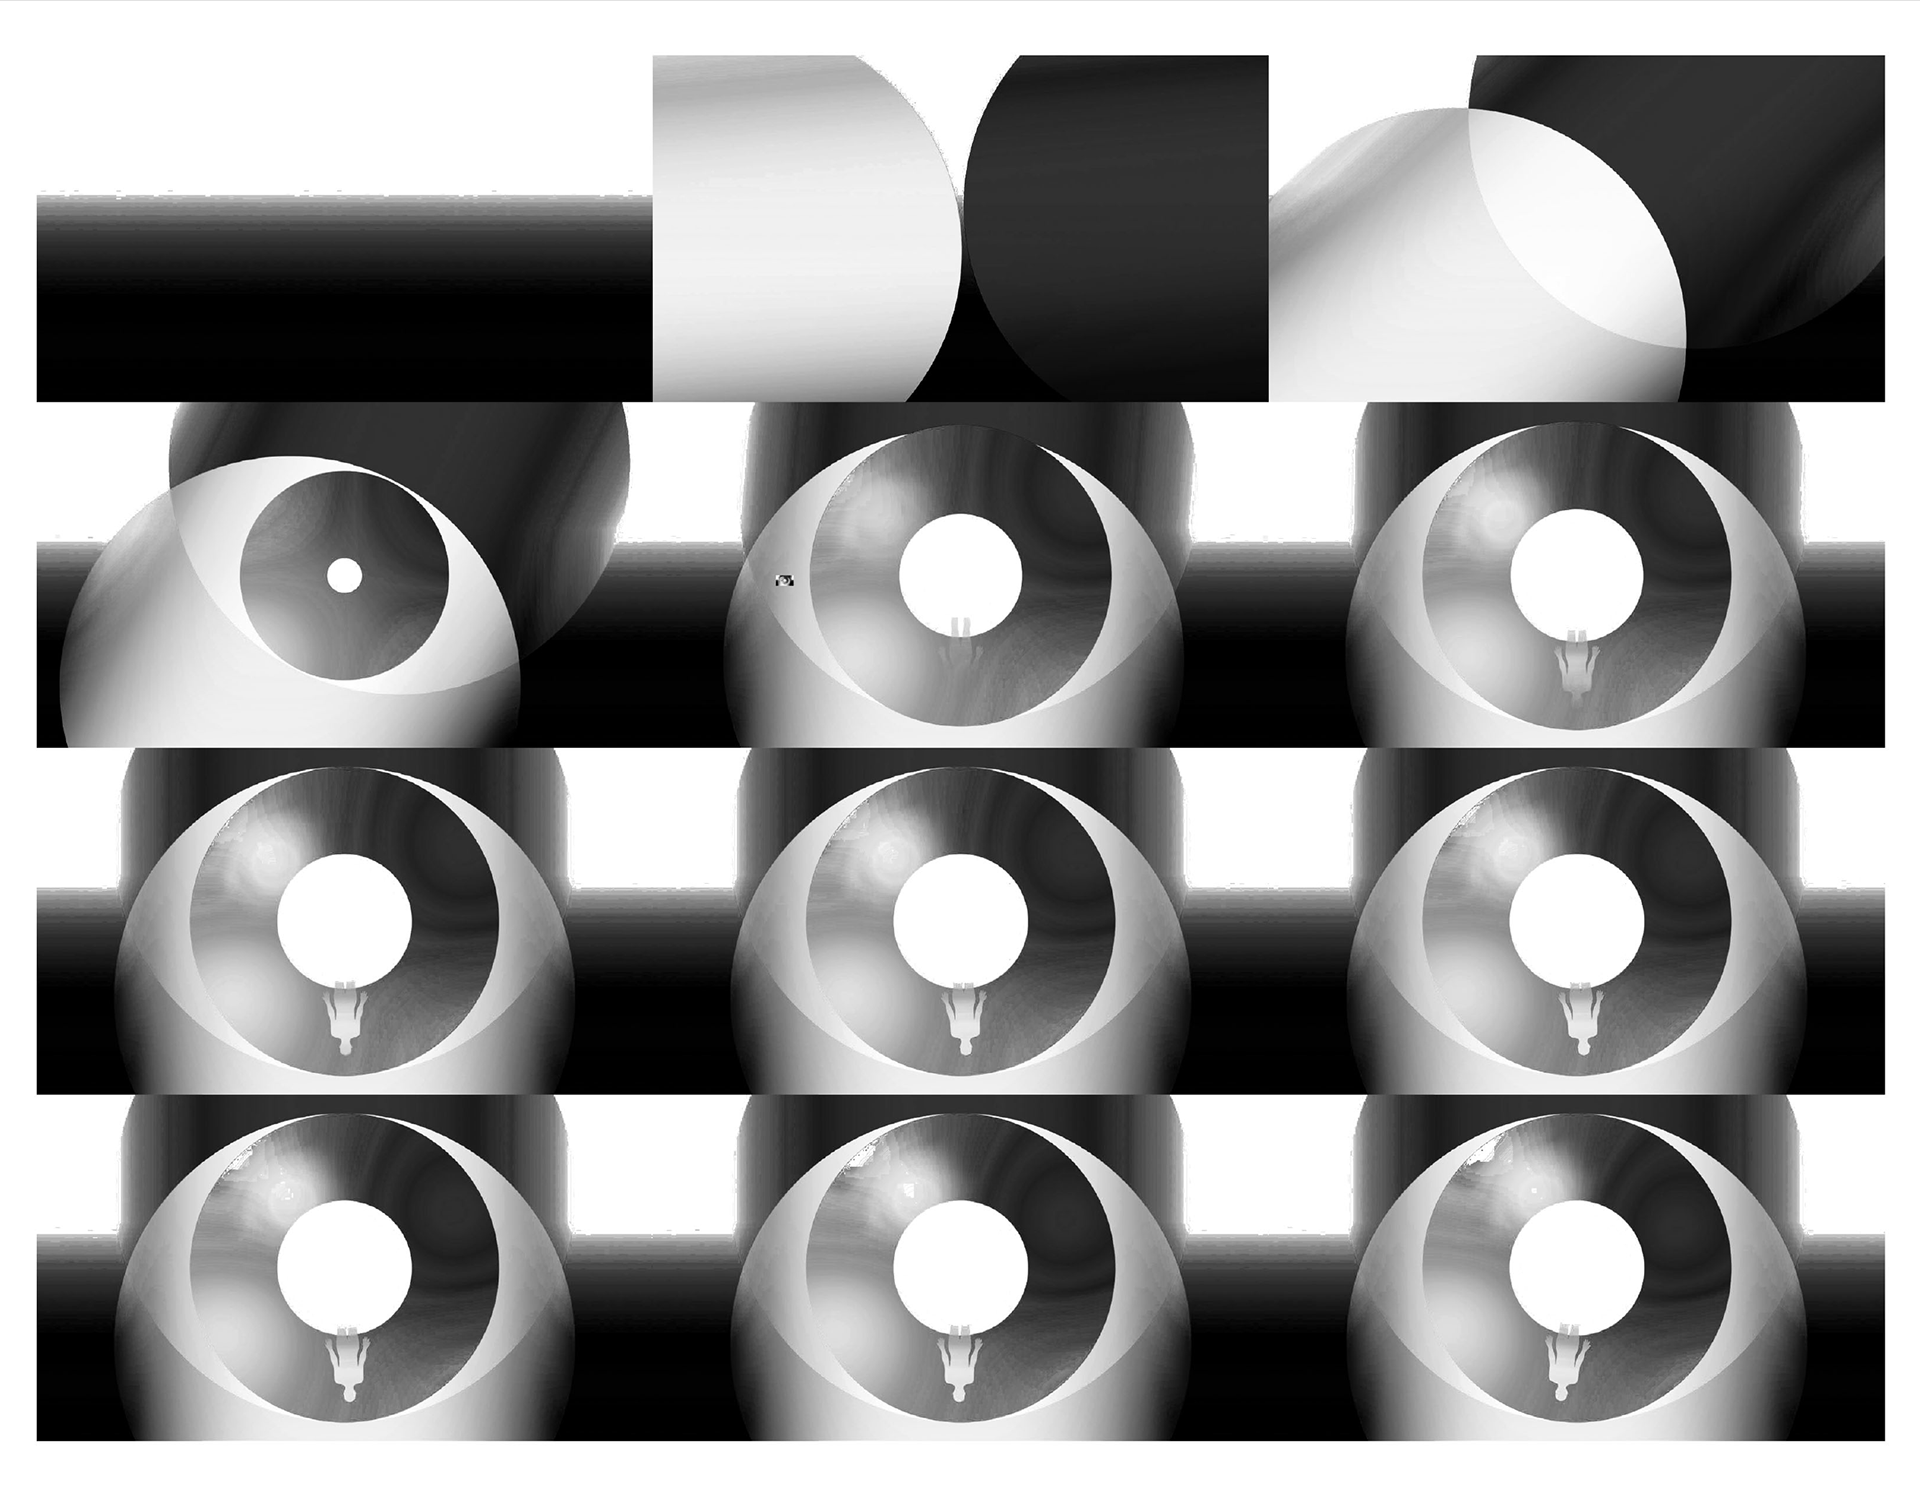
Cyan Layer
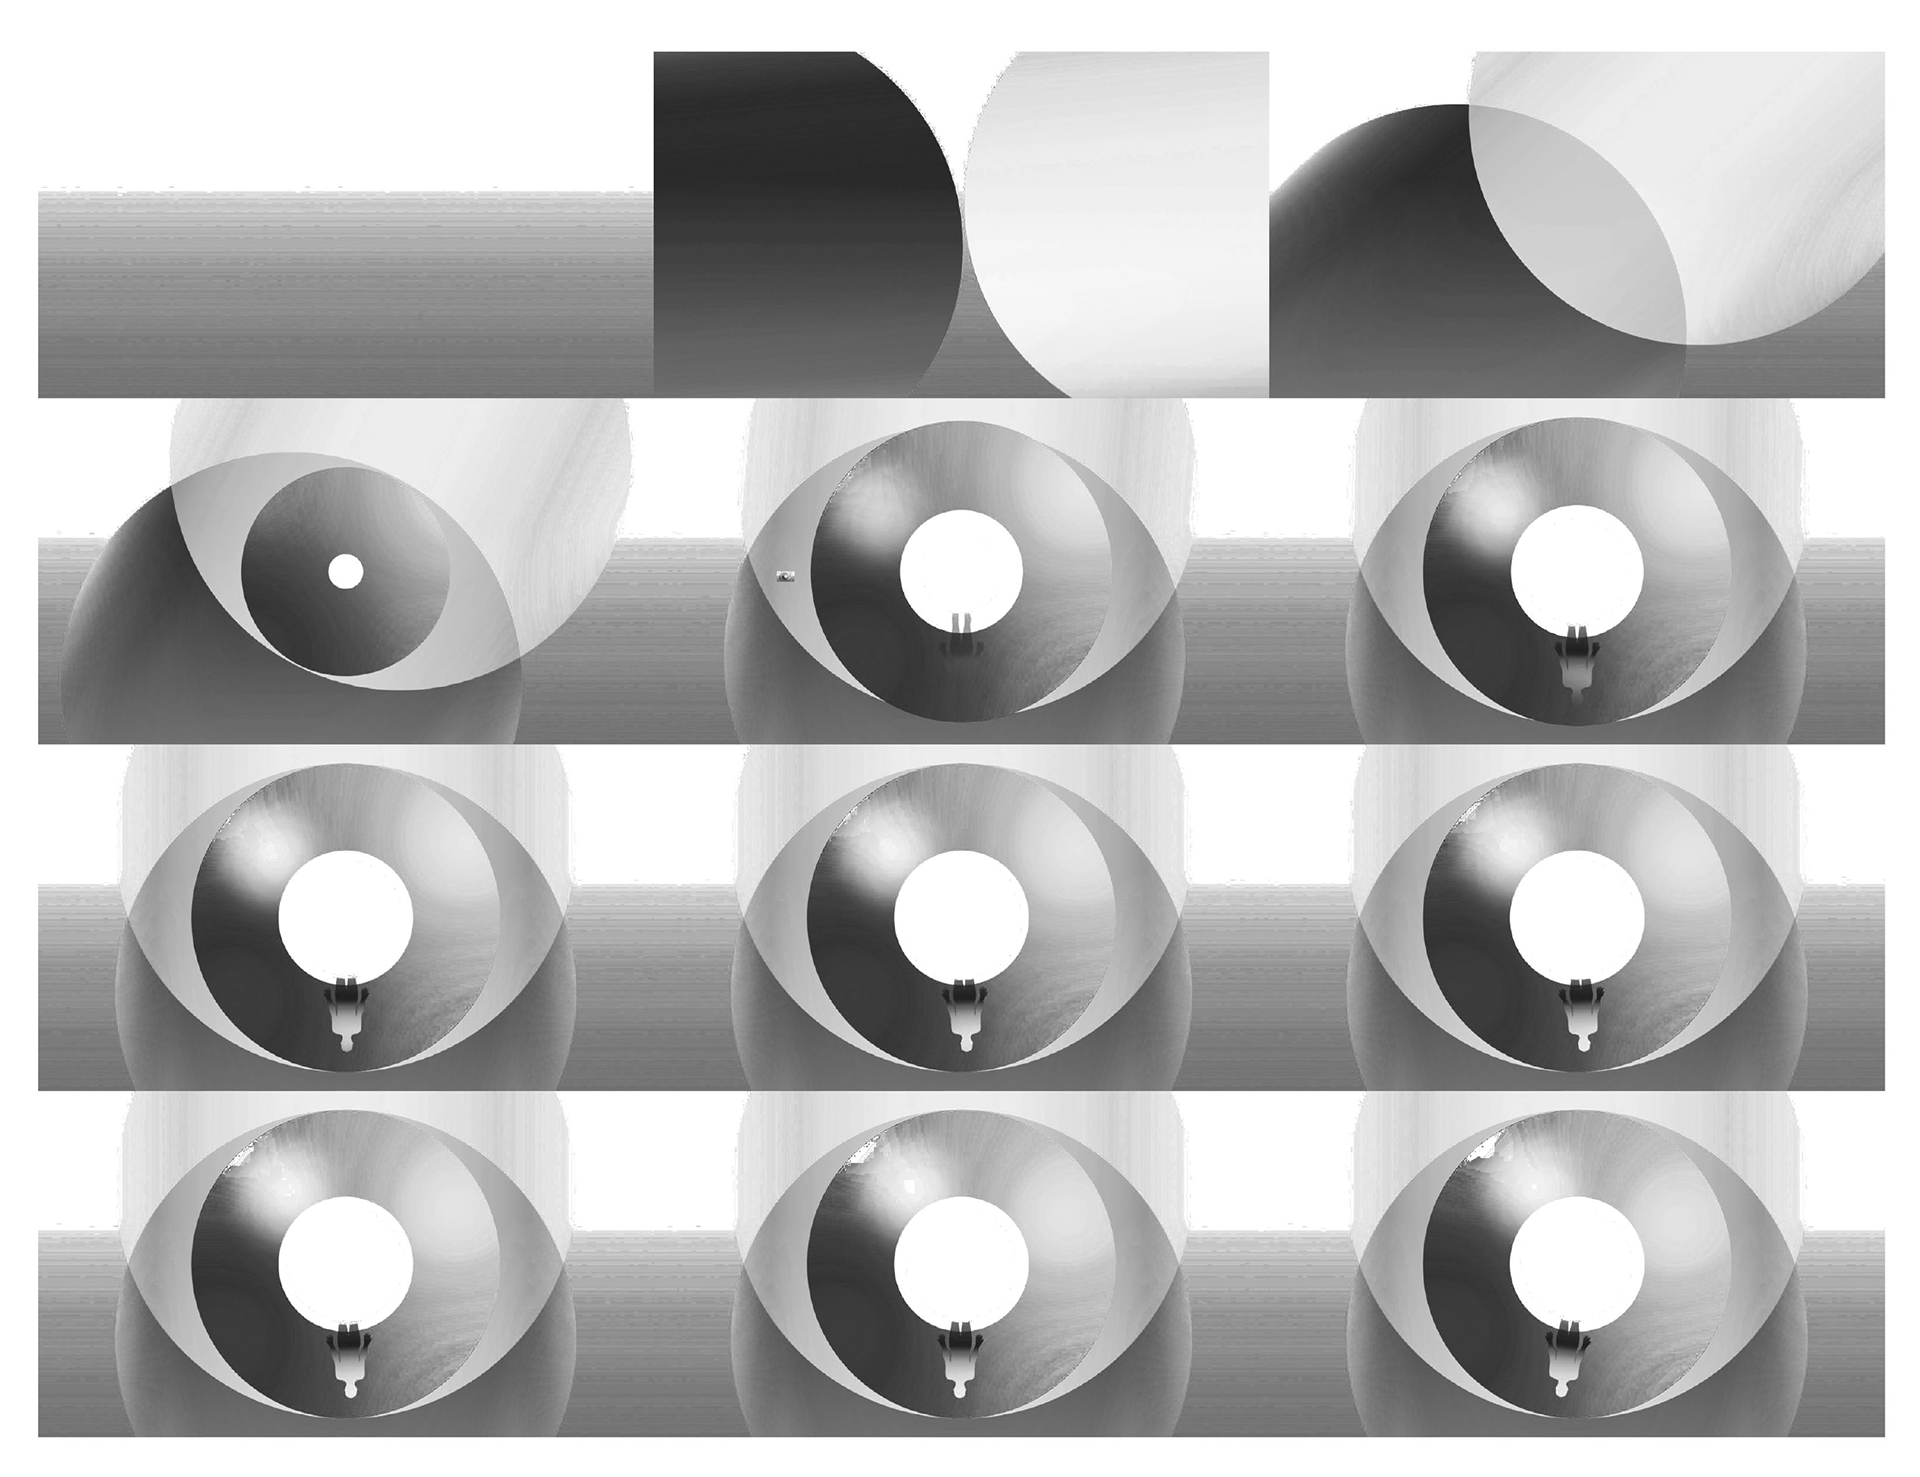
Magenta Layer
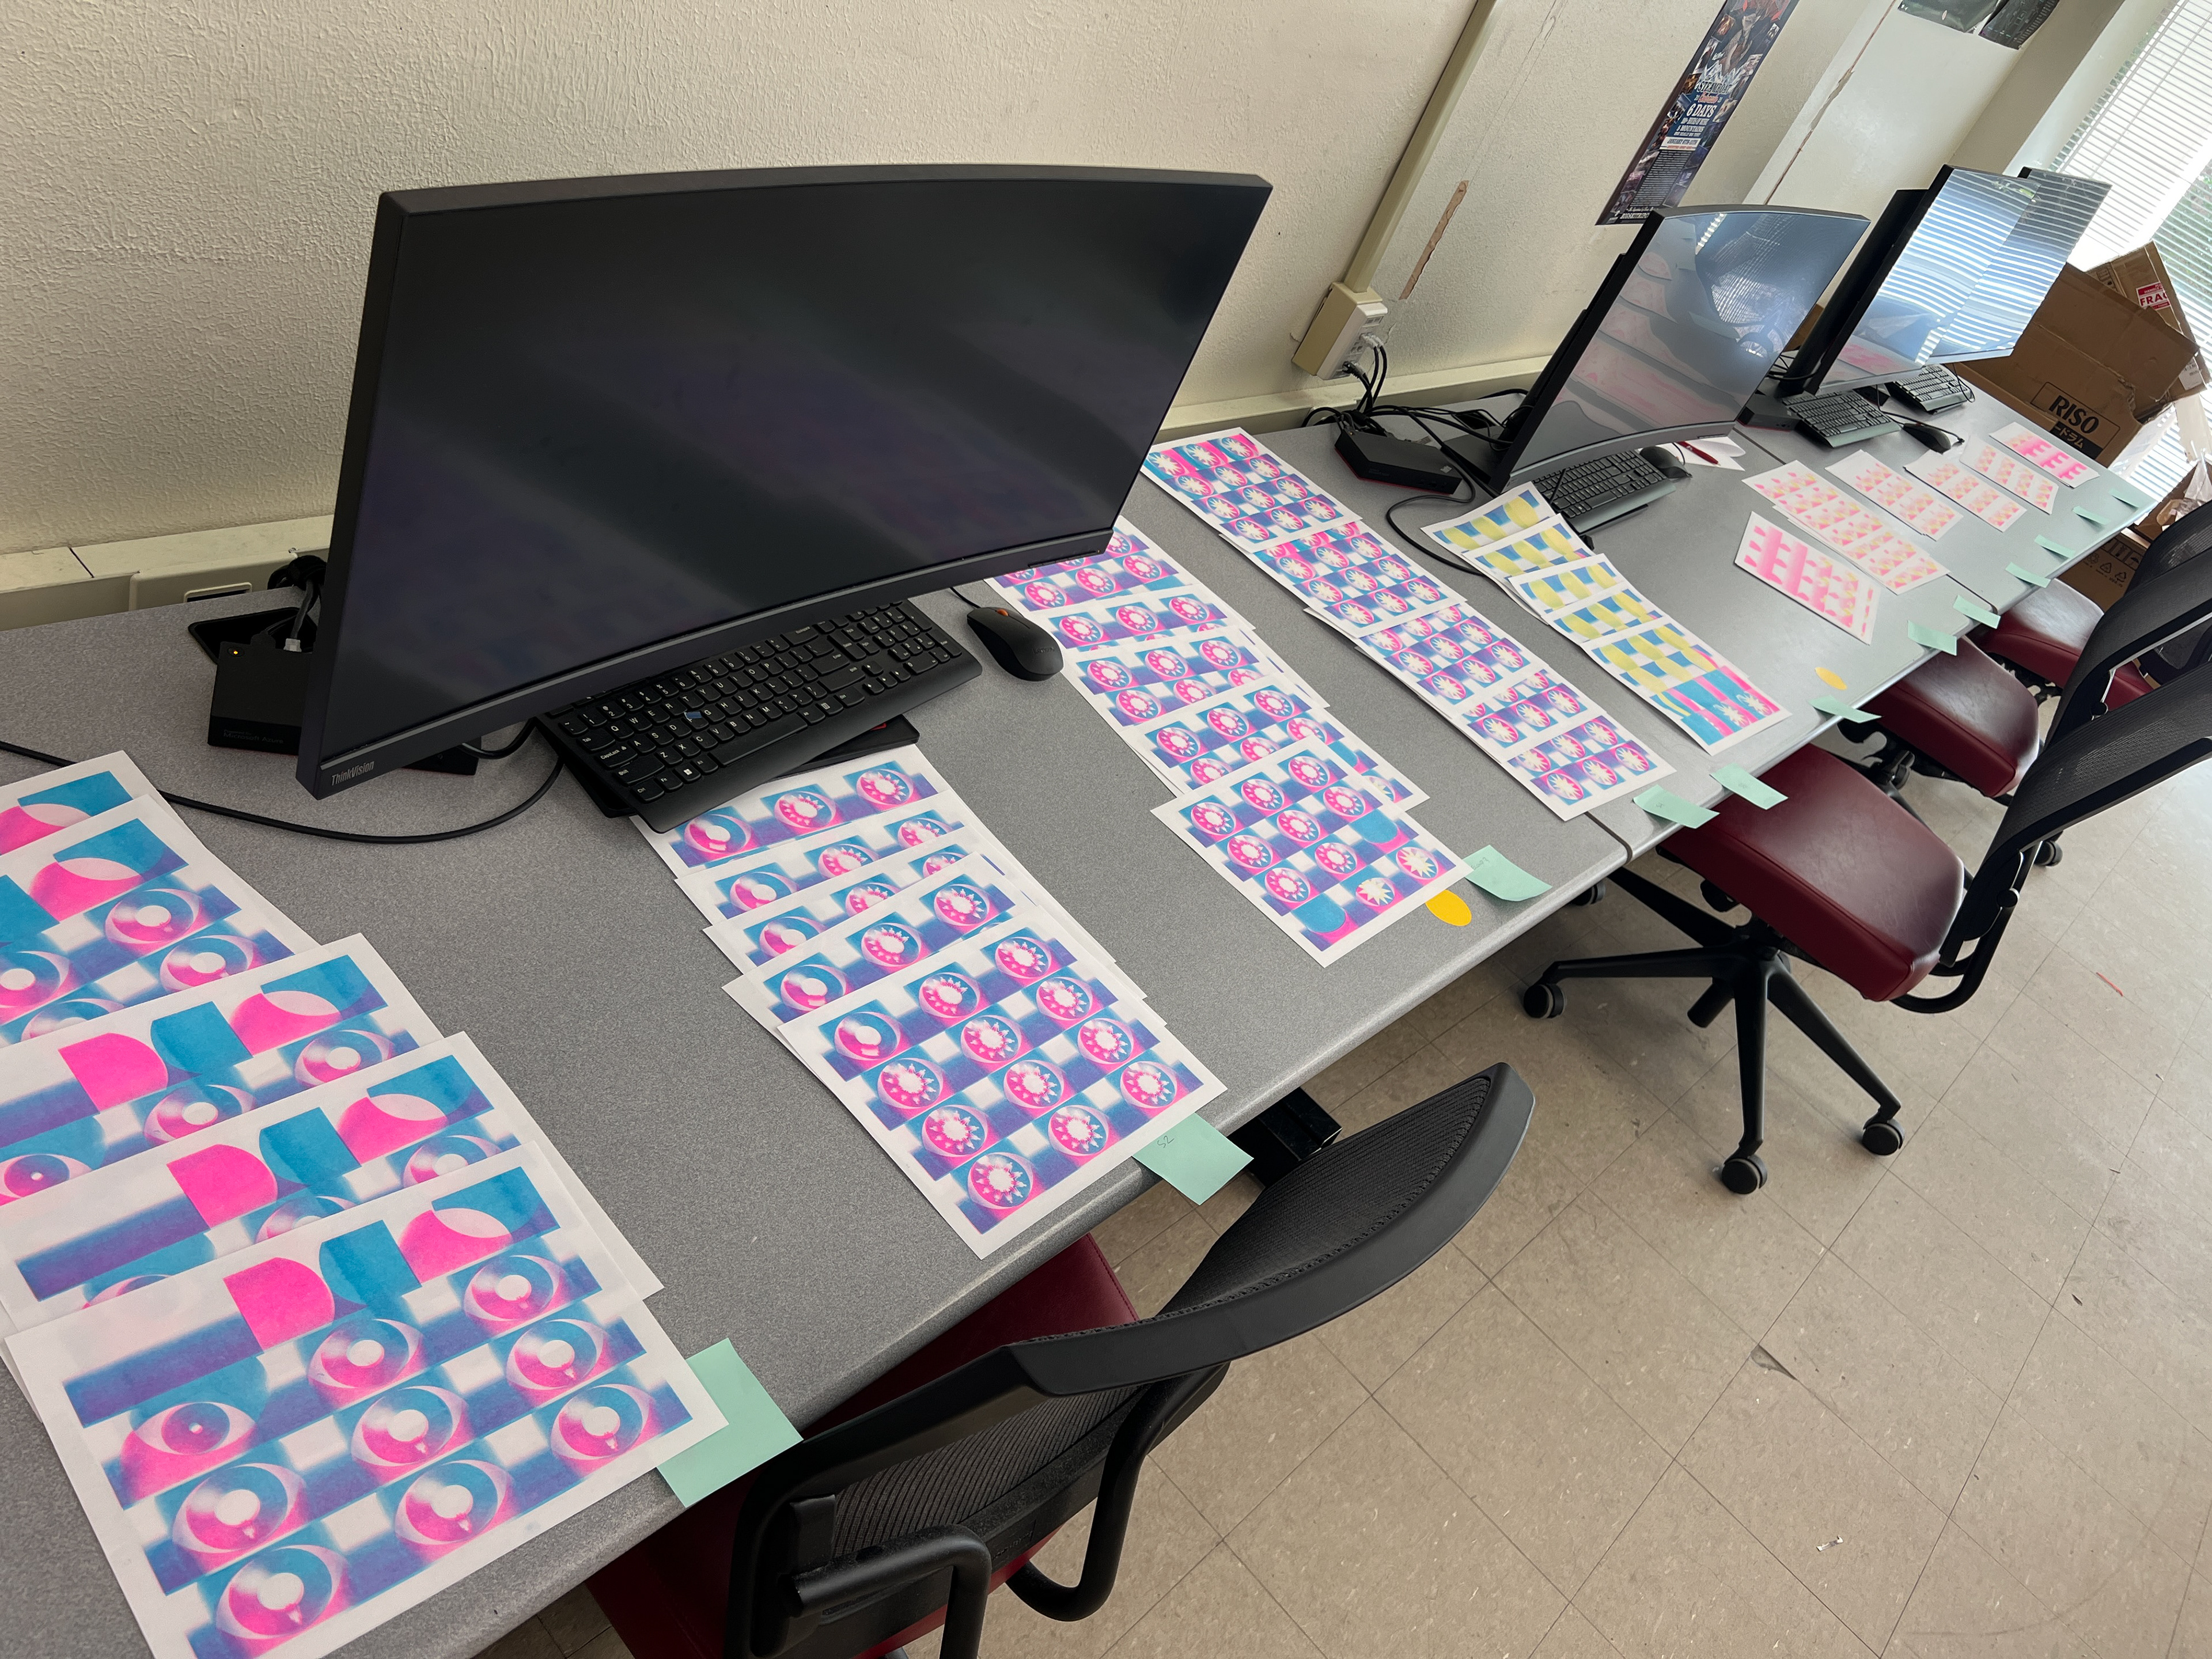
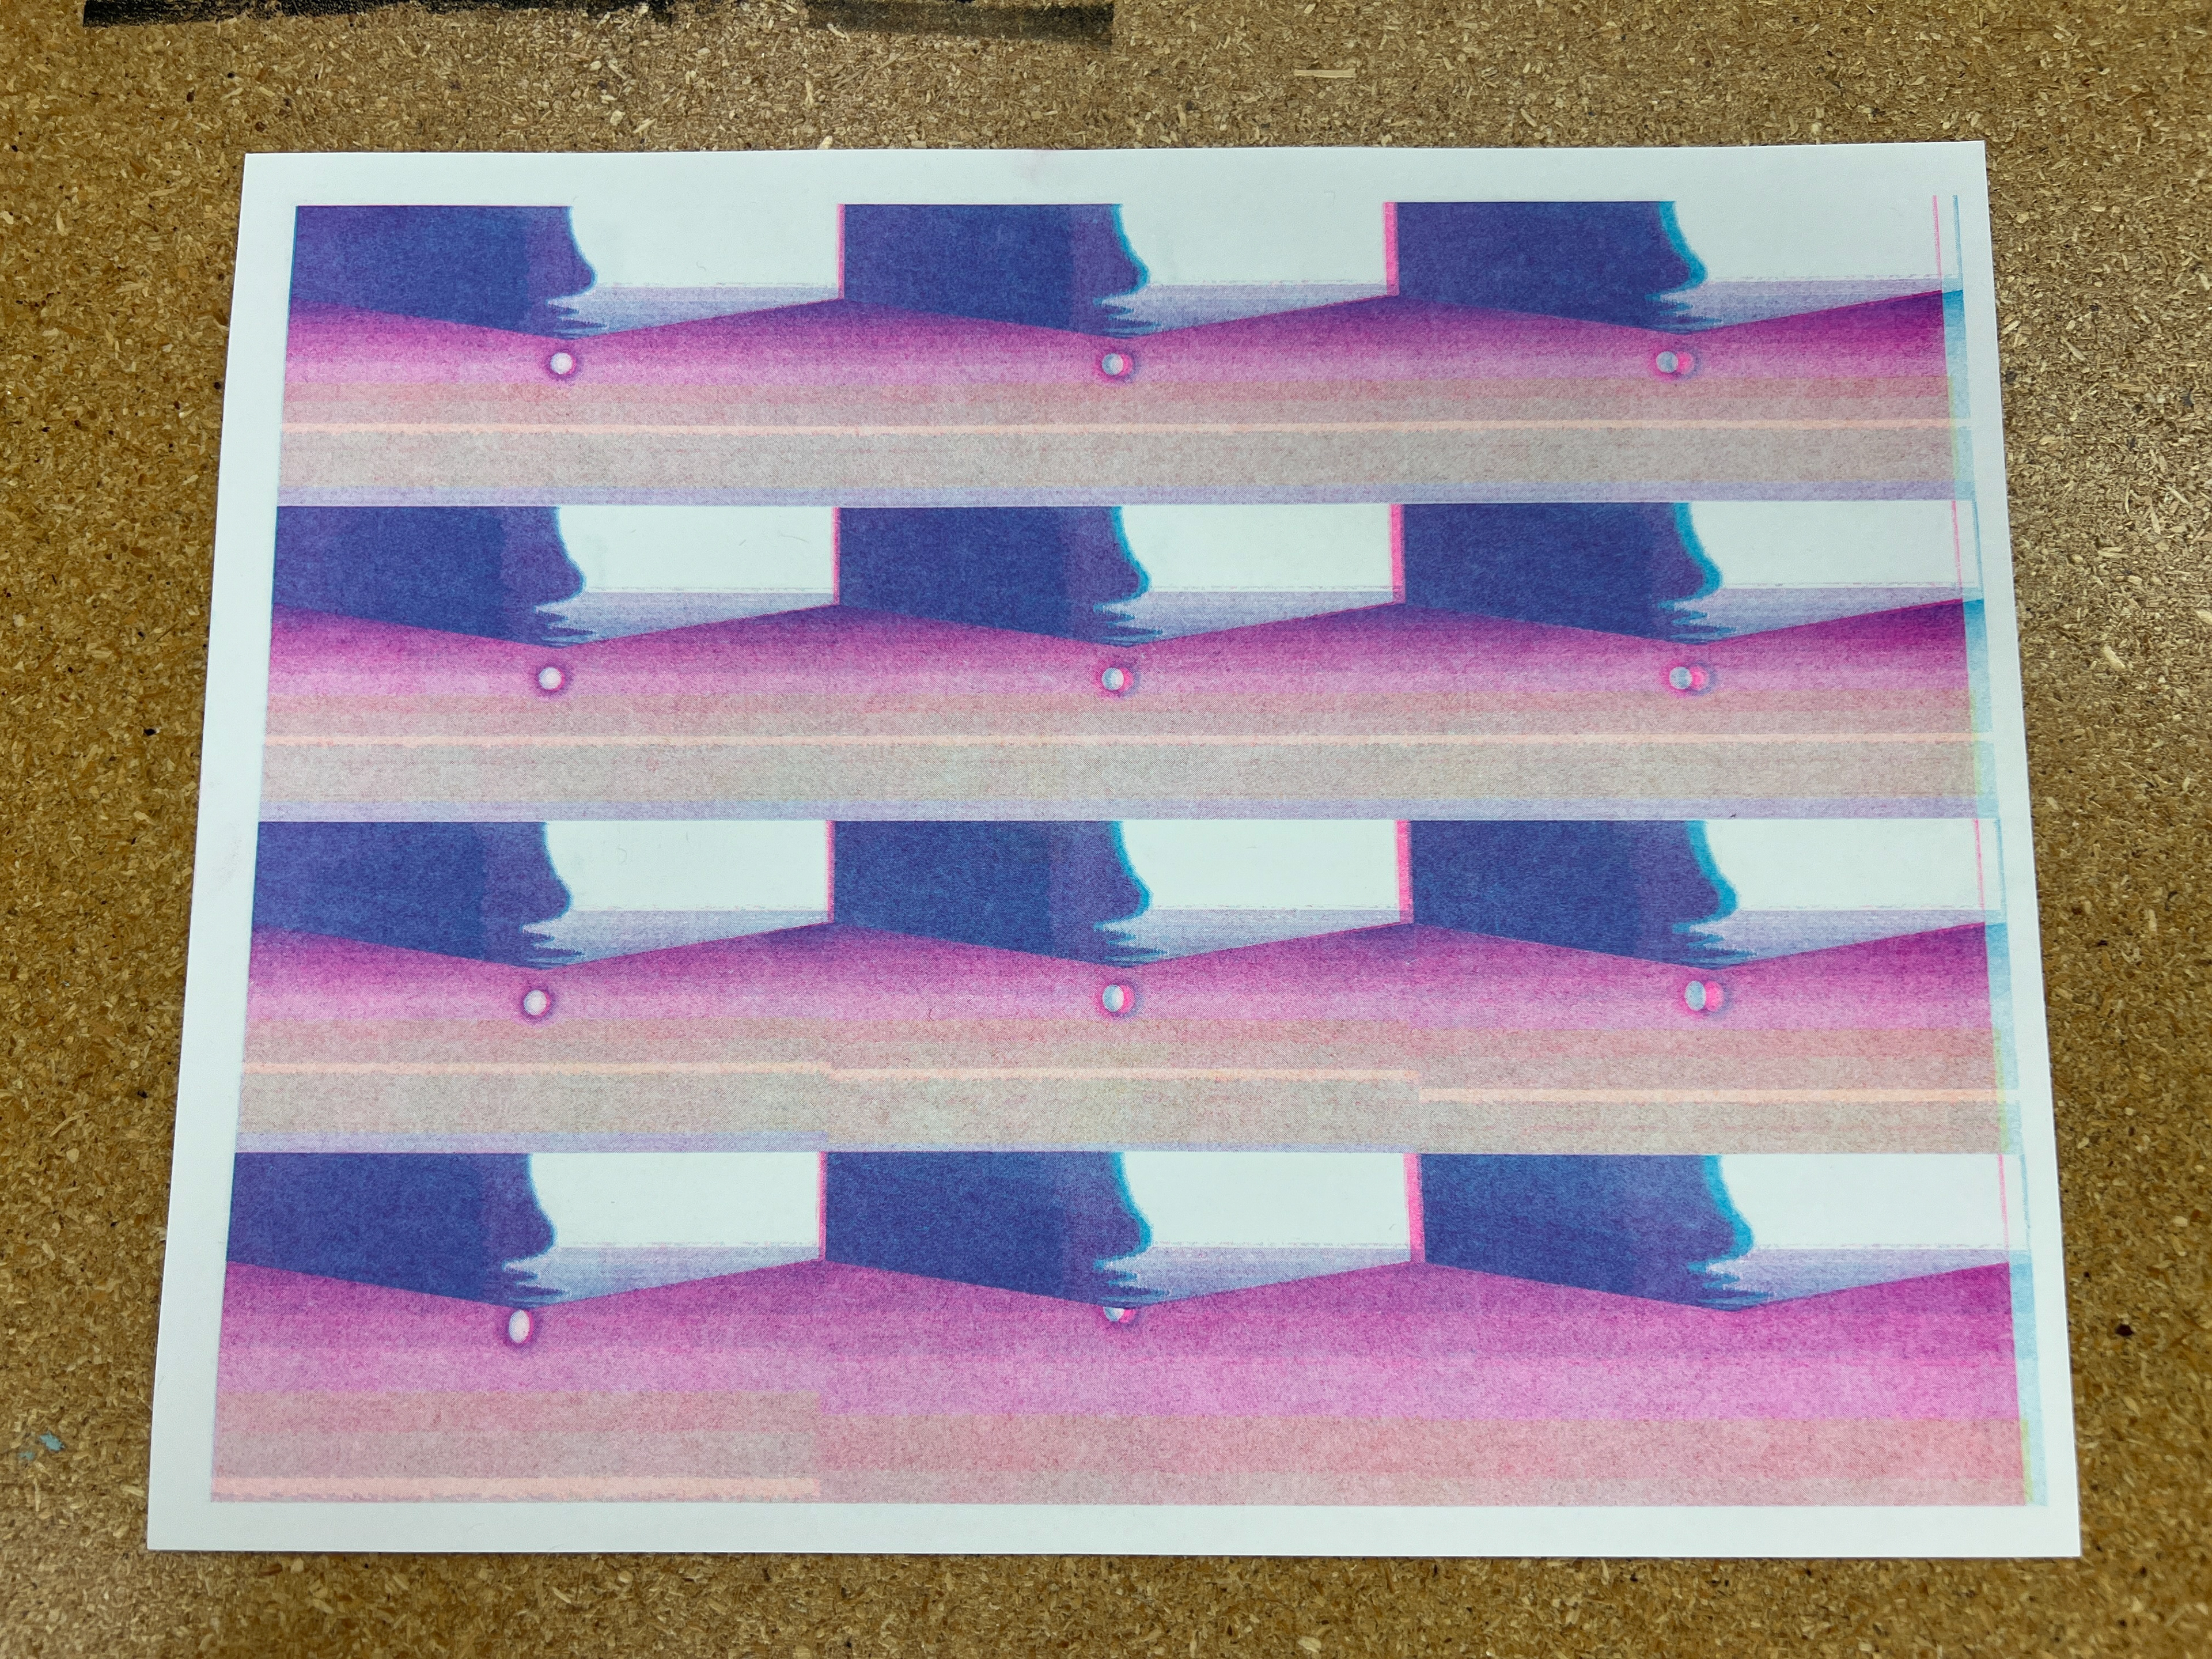
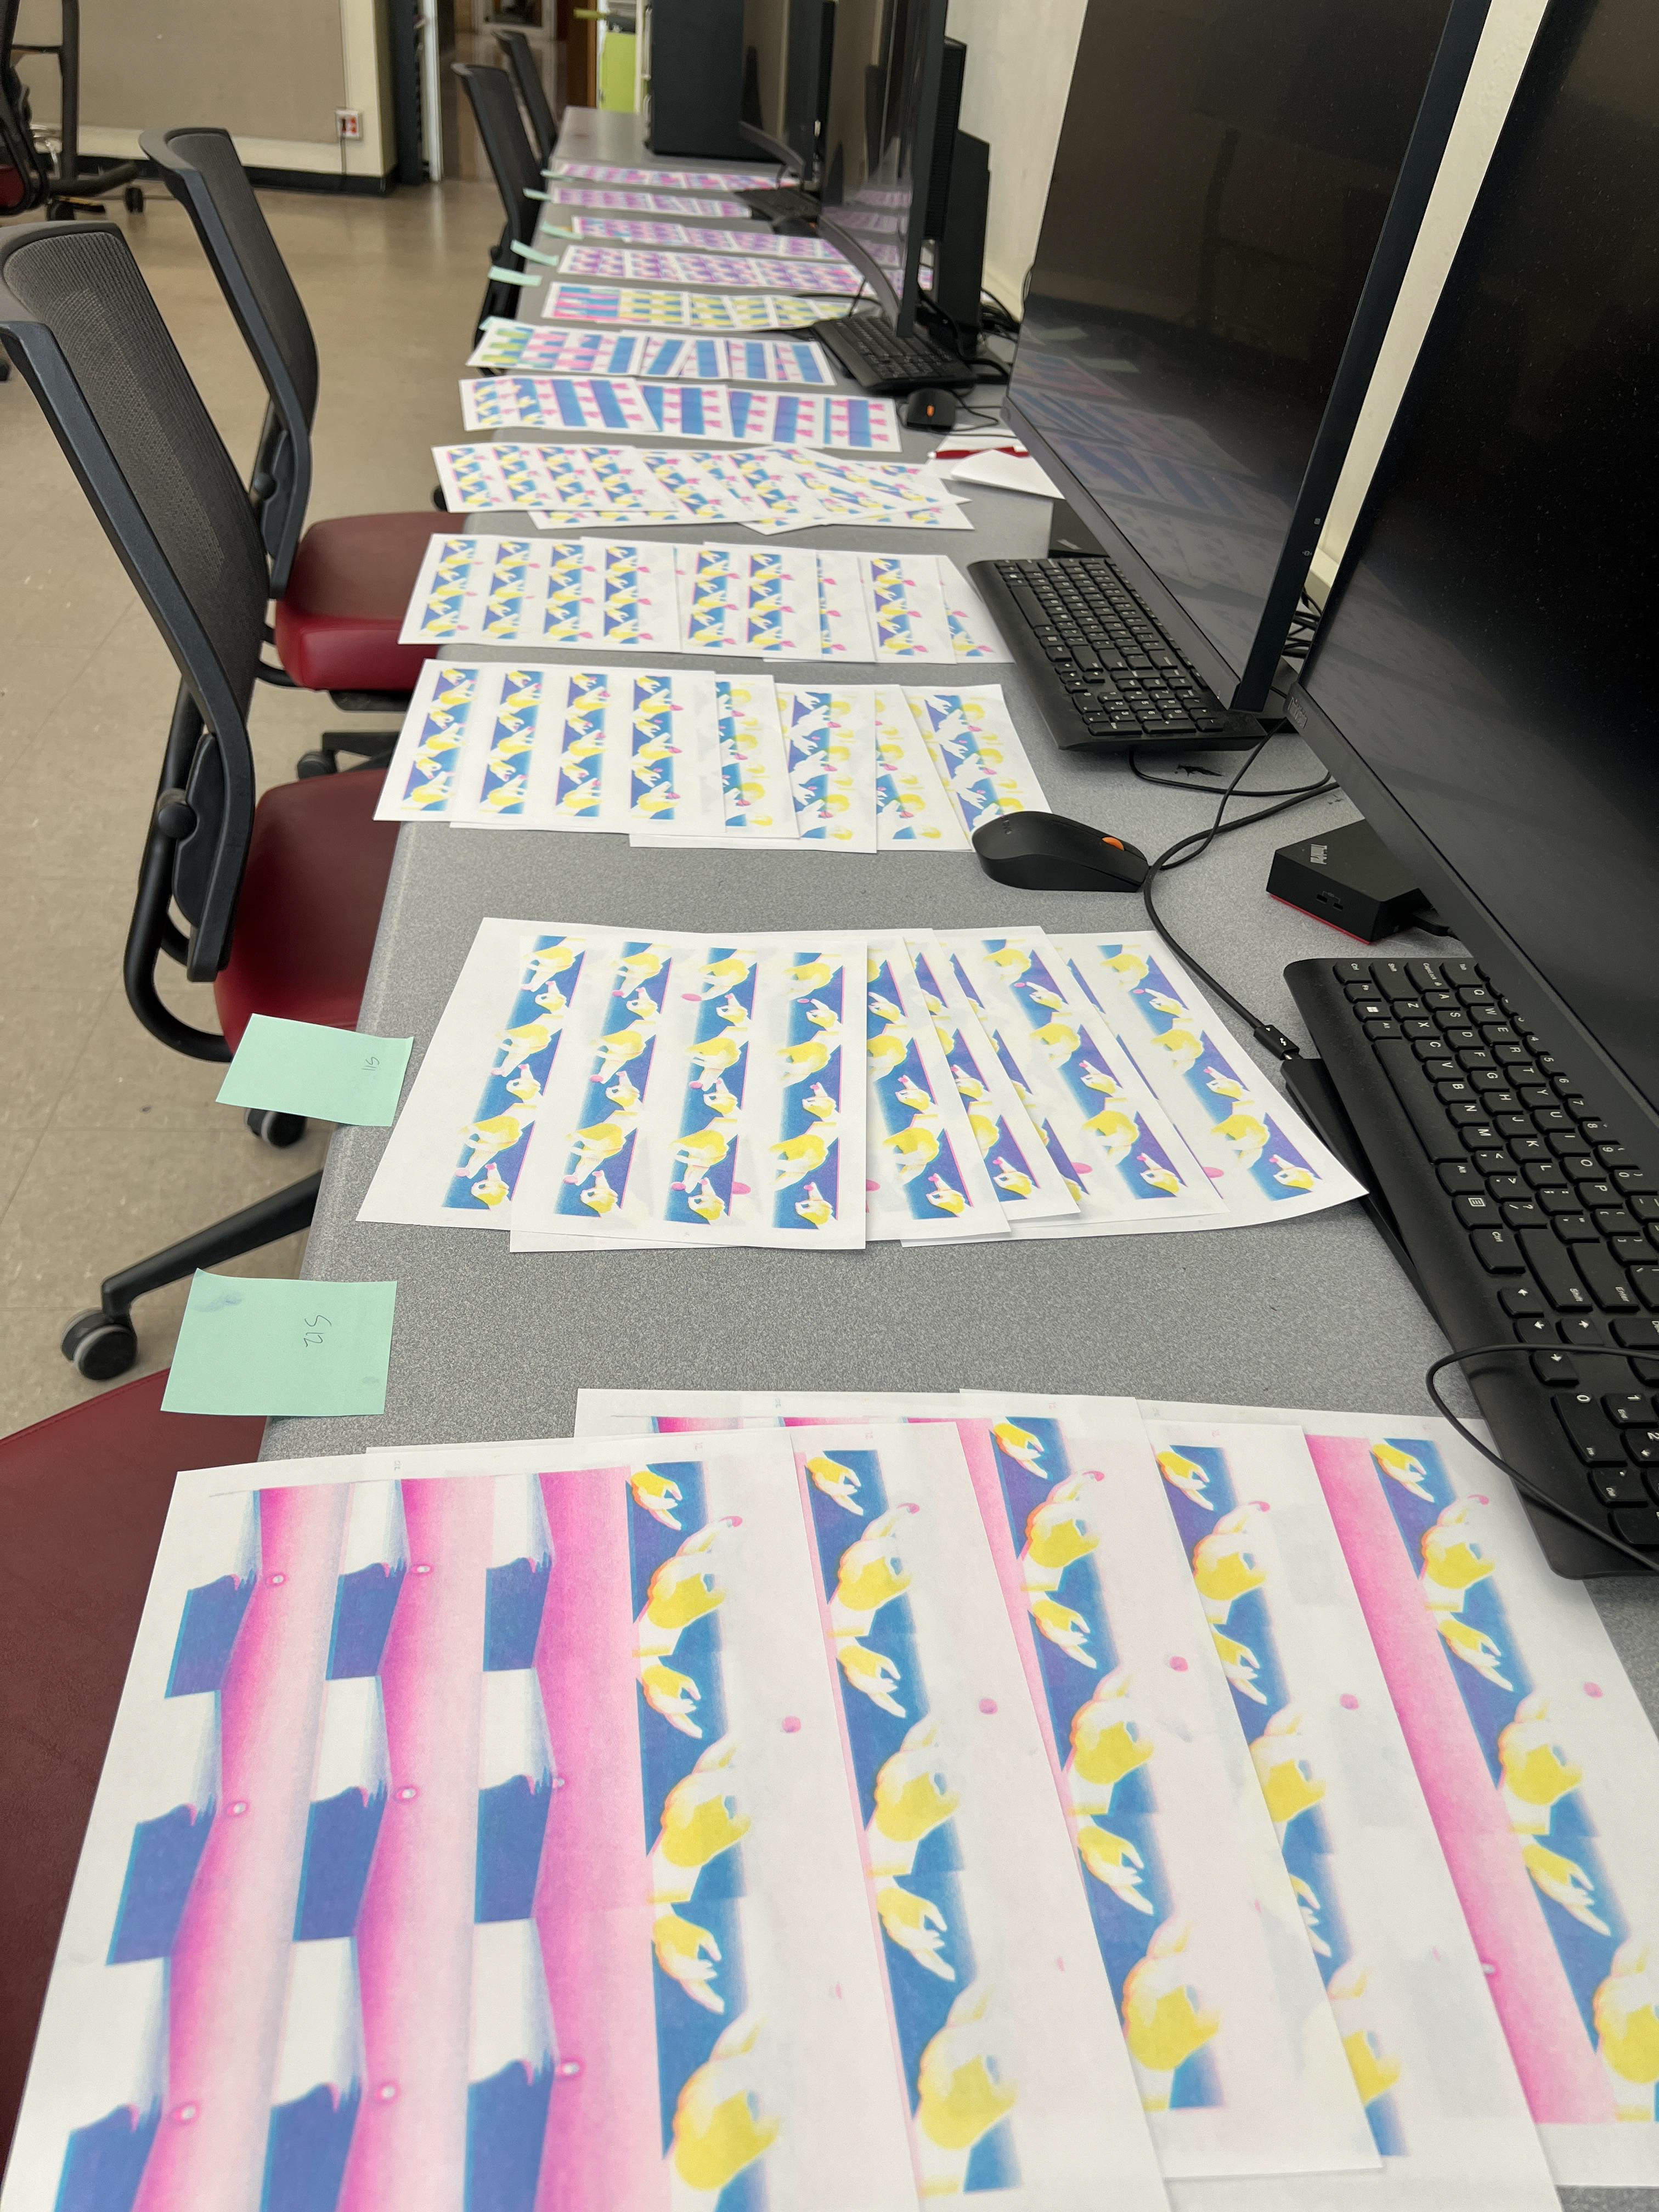
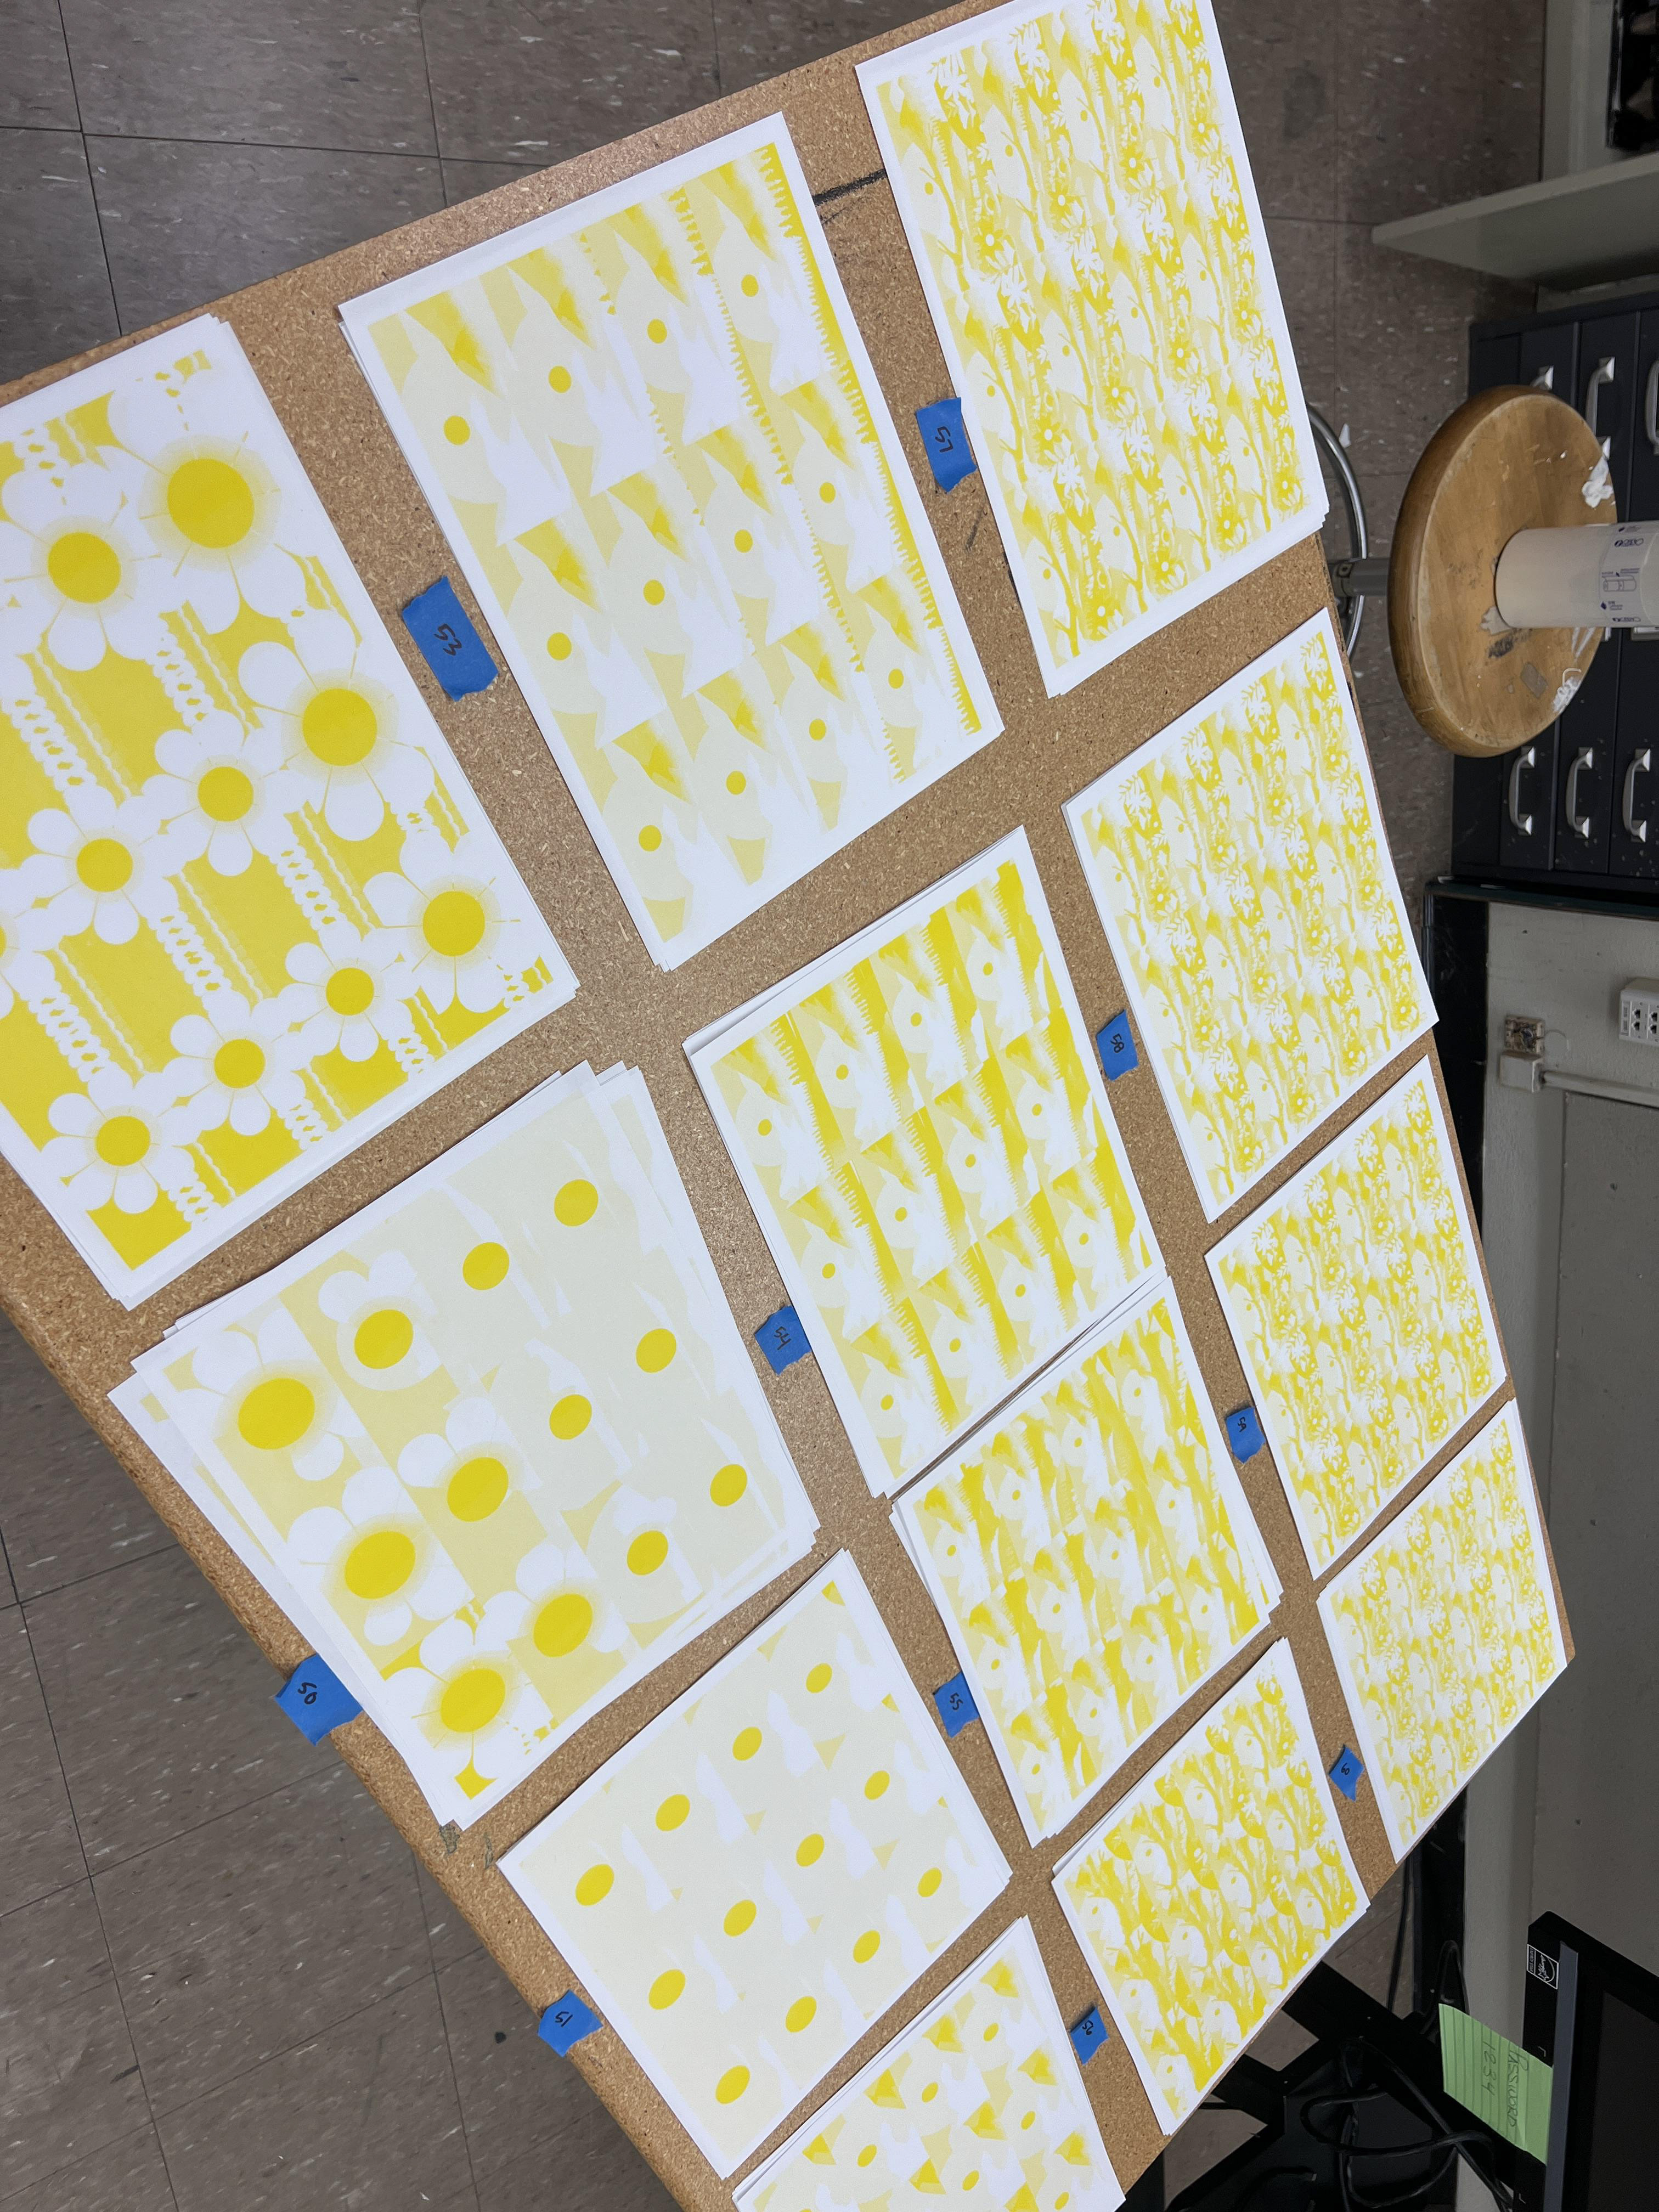
4.) Print each page one color at a time
This was the painstaking process of printing 7 copies of each frame to start.
I started with yellow (working light to dark), then layered the cyan by running these same copies through the machine again to overlay on top of the yellow.
One problem I ran into was when I replaced the master roll a quarter way through printing, the image would always be slightly stretched and could never be perfectly overlaid.
Because of this, I printed the magenta and black layers by themselves, and overlaid them all individually in Photoshop using a “multiply” blending mode.


5.) Scan all of the best pages in

6.) Import the scans into Illustrator to split into individual frames
By putting 12 artboards flush together and duplicating that 62 times, I was able to separate the 12 frames back into individual frames by aligning the PDF scans to the artboards, and exporting them using the artboards.
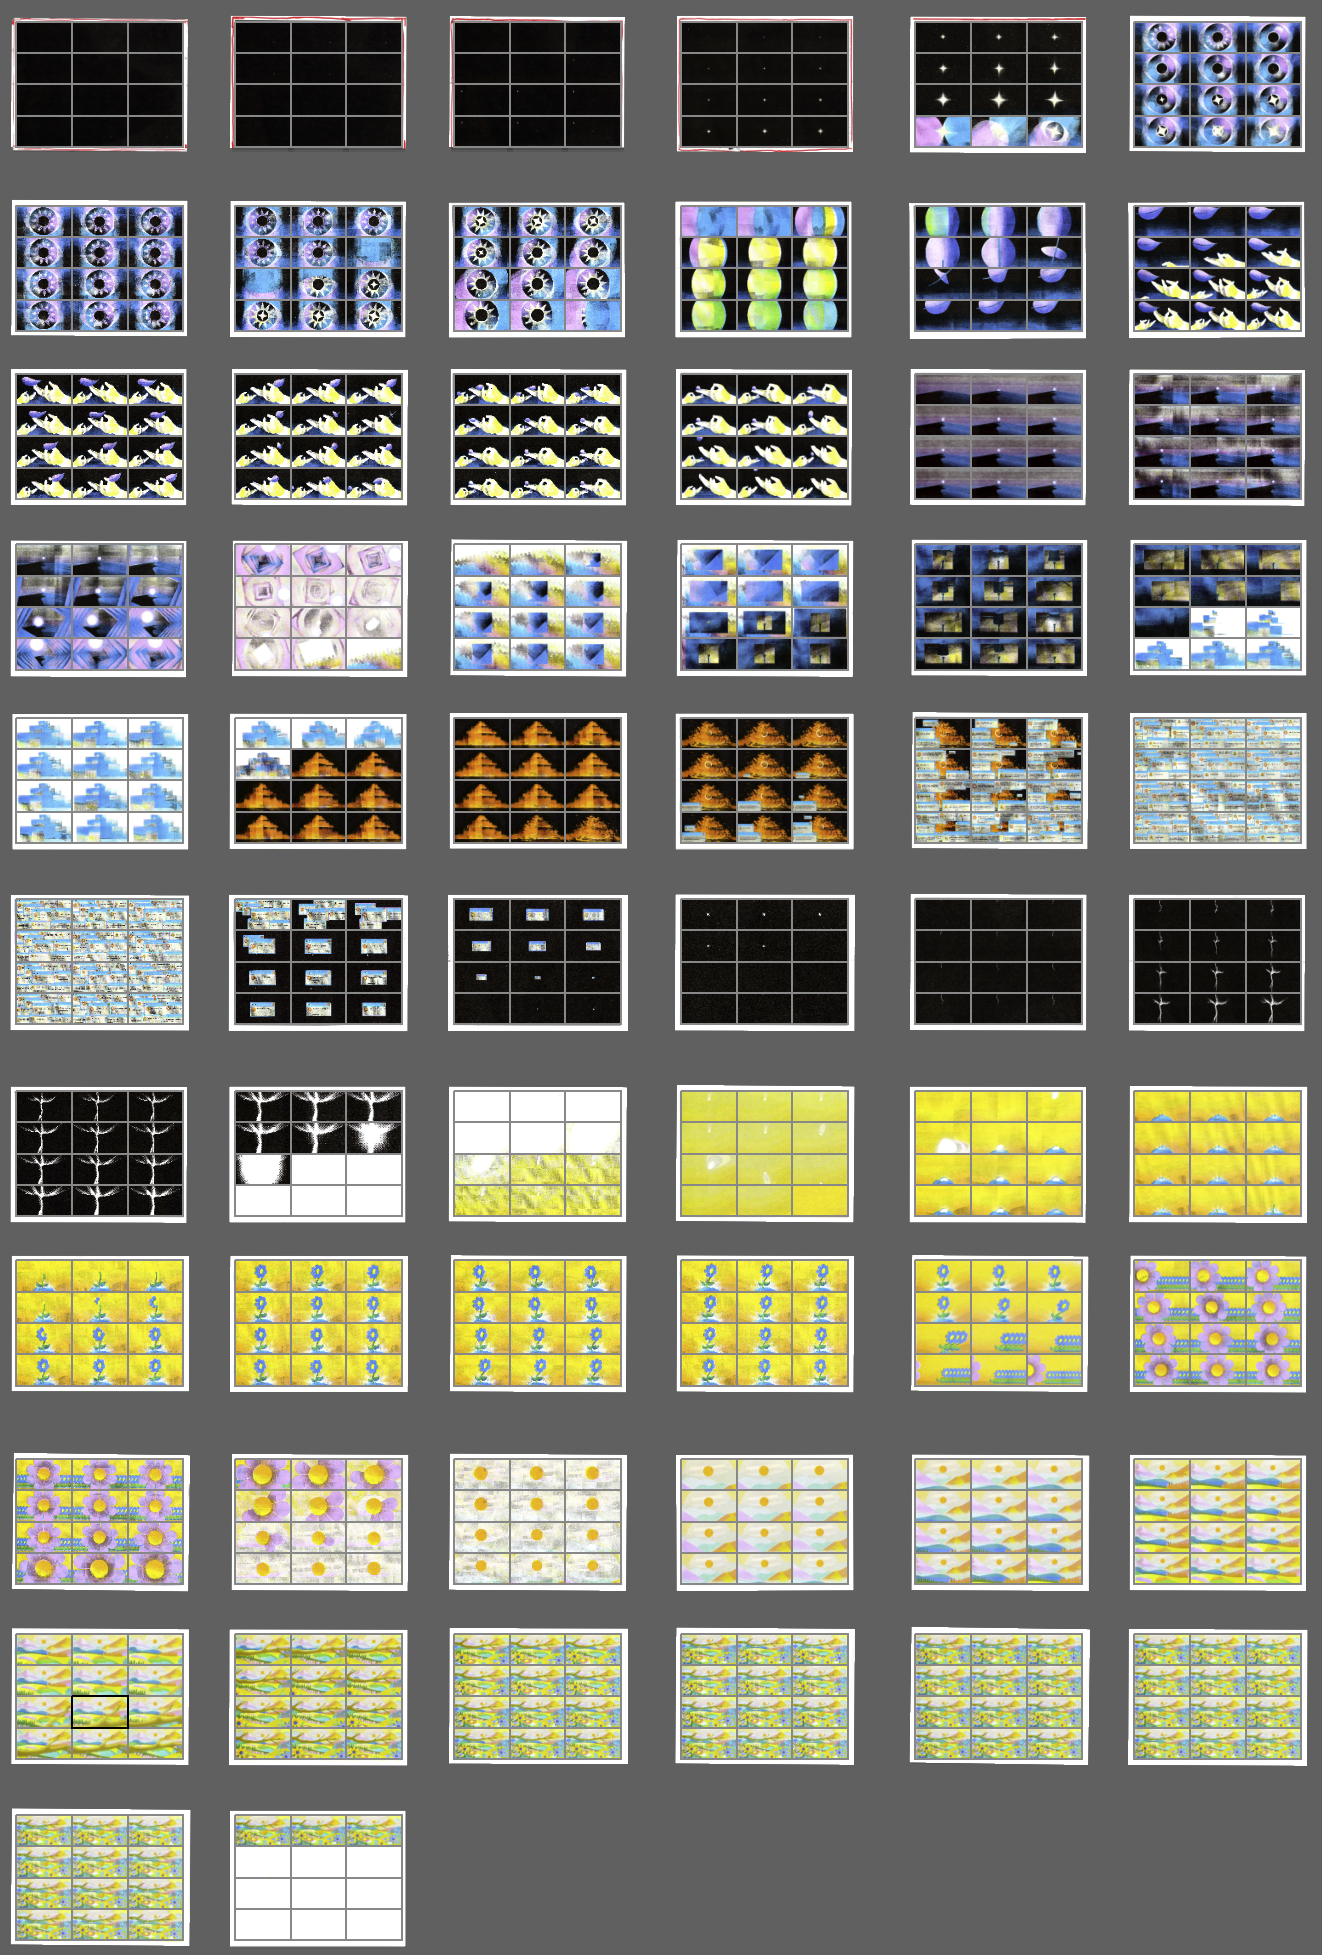
7.) Sequence the new frames in photoshop
Imported all of the frames and created a frame animation from the layers
8.) Export as GIFs and string together
I found GIFs actually produced the most detail and the best frame rate, so I divided up the whole sequence into 10 second gifs that I stringed together as an MP4.
*The original MP4 export was skipping frames
9.) Finalize sound design
I recorded 10 separate vocal tracks that would slowly layer for the narration and added in music and sound effects to finalize the short film animation.